Summary
The article explains display conditions in the Responsive Blocks plugin. It defines display conditions and why they matter.
It shows how to set rules so blocks appear only on specific pages, devices, or user conditions. It also covers examples of using these settings to tailor content visibility.
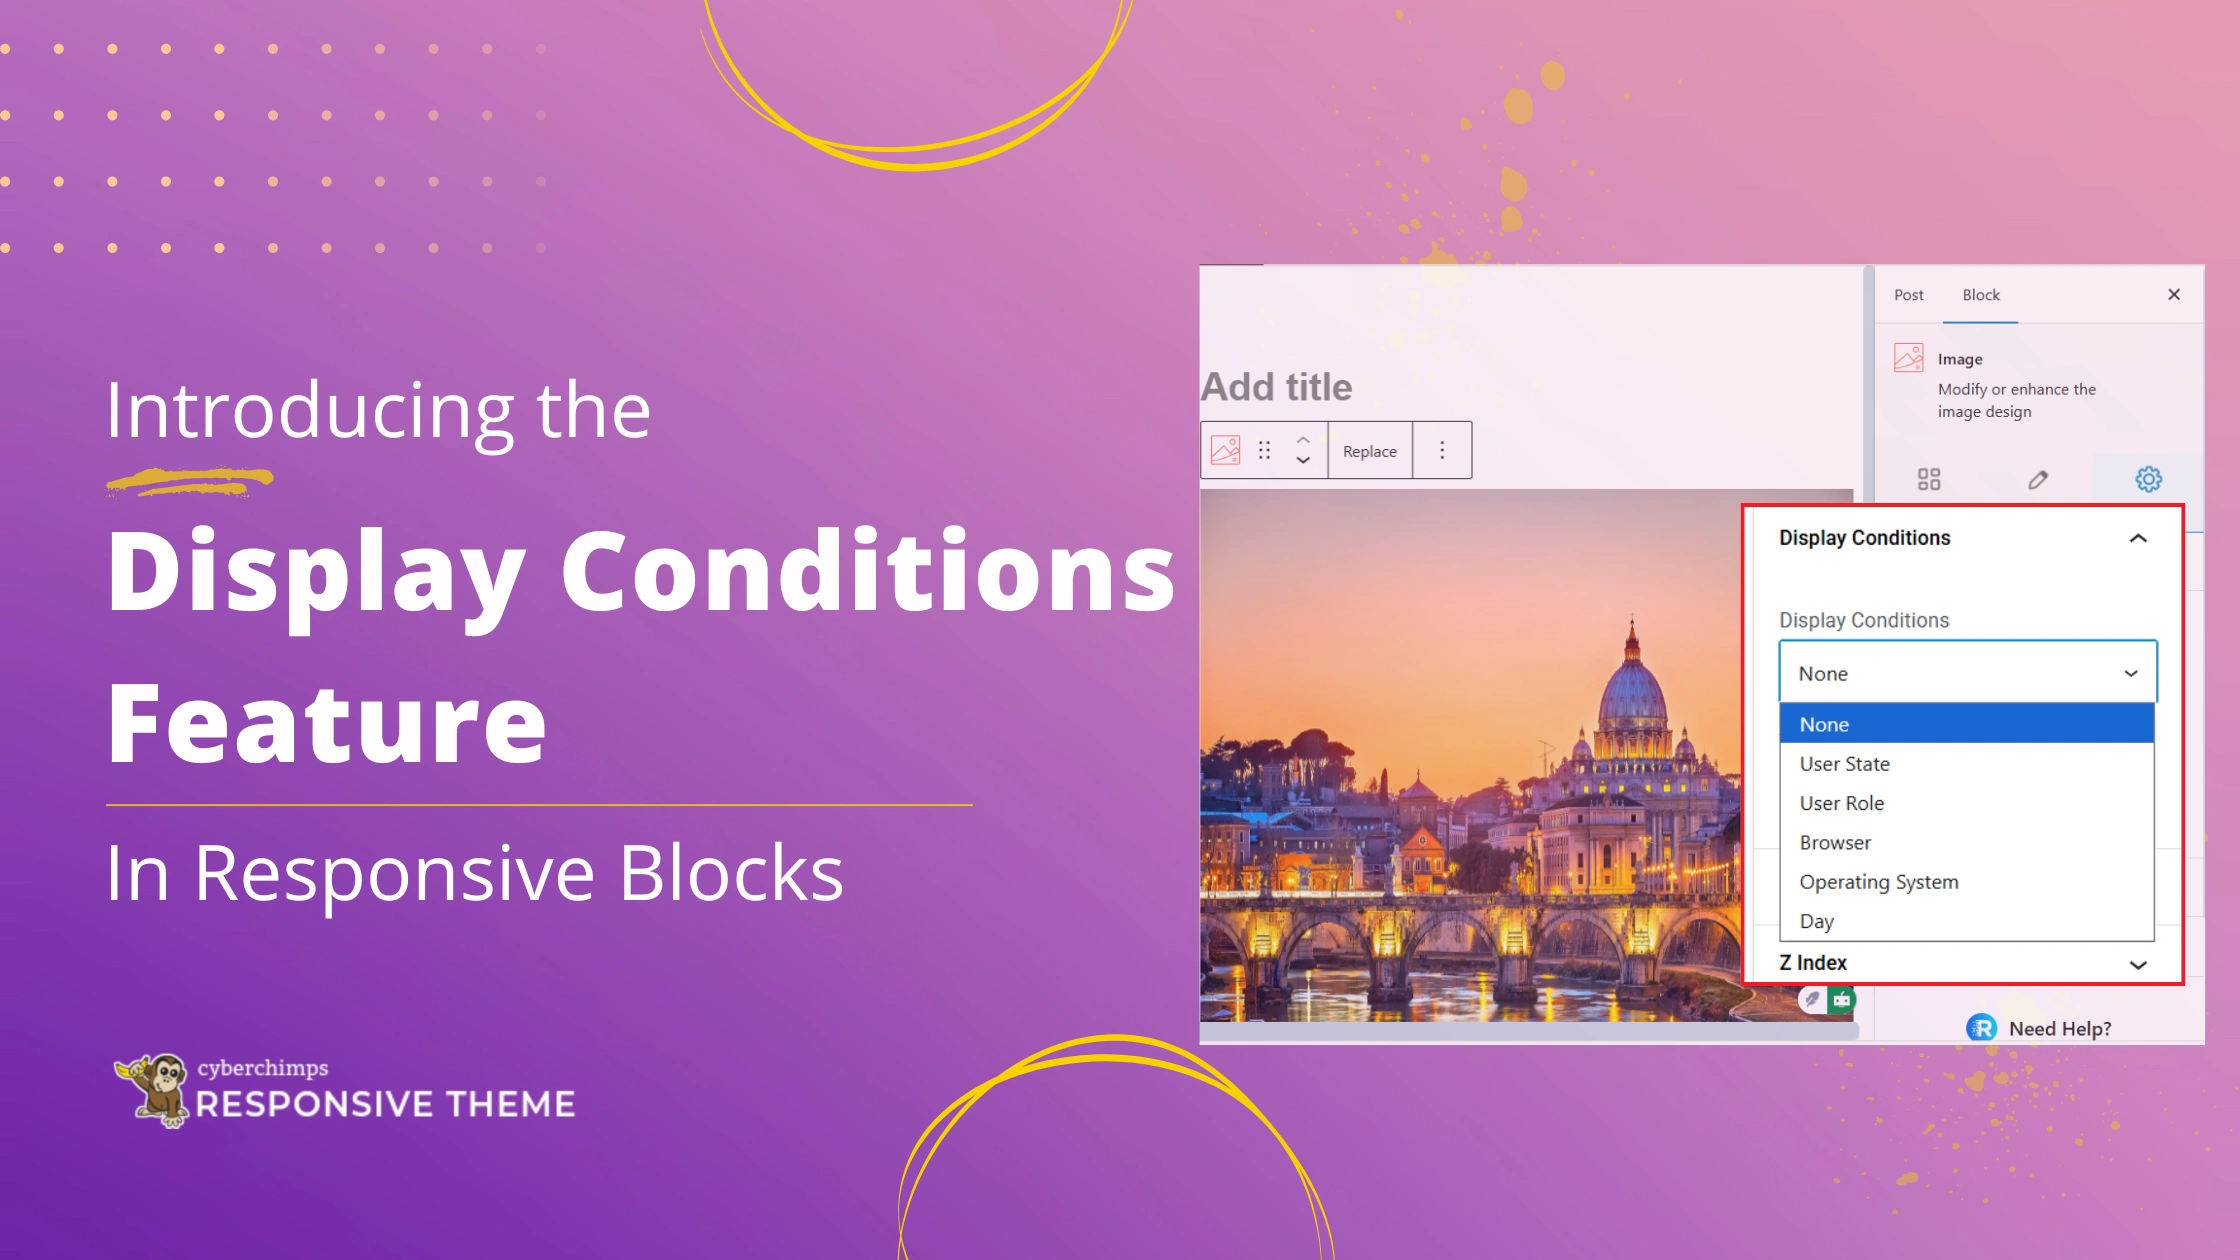
Creating a website is not just about the looks, it’s about control. With the latest update to the Responsive Blocks plugin we are introducing a new extension called Display Conditions.
It gives you powerful control over when, where, and to whom your content is displayed. The drop-down give you option such as:
- User State
- User Role
- Browser
- Operating System
- Day
Once Display Conditions is enabled in the plugin settings, you will have new condition controls in the Advanced tab of any block or section.
The settings are applied directly on your live website. It allows you to adjust your content based on user state, user roles, day of the week, browser, and even the operating system without ever writing one line of code.
Responsive Blocks is the Best WordPress Blocks Plugin – Get it for free!
What Are Display Conditions?
Display Conditions, also known as Block Visibility or WordPress block display rules. These conditions dictate when a certain WordPress block should or should not be displayed to a visitor.
Rather than having to create multiple versions of a page when displaying content to many users, you can use Display Conditions to keep all content in one place and let the conditions engine decide which parts to show. Display Conditions let you customise visibility based on factors like:

- User State: Logged-in or logged-out users
- User Role: Admin, editor, subscriber, etc.
- Browser: Deliver tailored experiences for Chrome, Firefox, Safari, etc.
- Day: Display content only on specific days of the week
- Operating System: Target Windows, macOS, iOS, Android, etc.
When activated in the Responsive Blocks plugin settings, these condition controls will appear under the Advanced tab of any block or section. They are only active on the live site, or front end, so your visitors are viewing the correct content at the correct times.
As a whole, Display Conditions provides you with flexibility, personalization, and control, all with Responsive Blocks.
???? My Real-World Test Results:
- Powered by Flexbox Container technology
- Number of blocks: 50+
- GTmetrix Performance Score: 98%
- Extensions like Animation, Display Condition, Responsive Condition and more
- Save design time with 100+ Premium-grade Starter templates
Why Use Display Conditions (Benefits)
There are many advantages of using this display conditions extension.
- Optimised User Experience: Show appropriate content, promotions, or call-to-actions (CTAs) depending on user status (for example, display a registered user’s ‘Welcome Back’ message but show a ‘Sign Up’ link for visitors not logged in).
- Content Access Control: Easily restrict premium content, sensitive navigational links, or specific documents to only paying members or users with a specific User Role (ex. Admin).
- Targeted Marketing: Run targeted campaigns. For example, using the Day condition to show a special offer only on Mondays or show an application download link only to users on a mobile OS.
- A/B Testing: A/B test content variations across specific browsers or operating systems before you go live.
- Less Front-End Clutter: Reduce the design challenges on the front-end, showing only elements related to the user’s current status and create less clutter on the page and improve loading speed.
- More Efficient and Easier Maintenance: Manage all content versions within one block editor interface, which reduces the risk of errors based on duplicating pages.
Common Use Cases / Examples
| Condition Type | Use Case Example |
|---|---|
| User State | Show a “Log In” button to logged-out users and a “My Account” link to logged-in users. |
| User Role | Display a private dashboard widget or admin-only instructions visible only to the “Administrator” role. |
| Browser | Show a warning about an outdated feature only to users on an old version of Edge. |
| Operating System | Display a specific download CTA button for the Android App to users on the Android OS. |
| Day | Run a “Weekend Flash Sale” banner that is only visible on Saturday and Sunday. |
Step-by-Step Guide – How to Use Display Conditions in Responsive Blocks
Follow these simple rules to configure visibility rules for your blocks:
1. Enabling the Display Conditions Extension
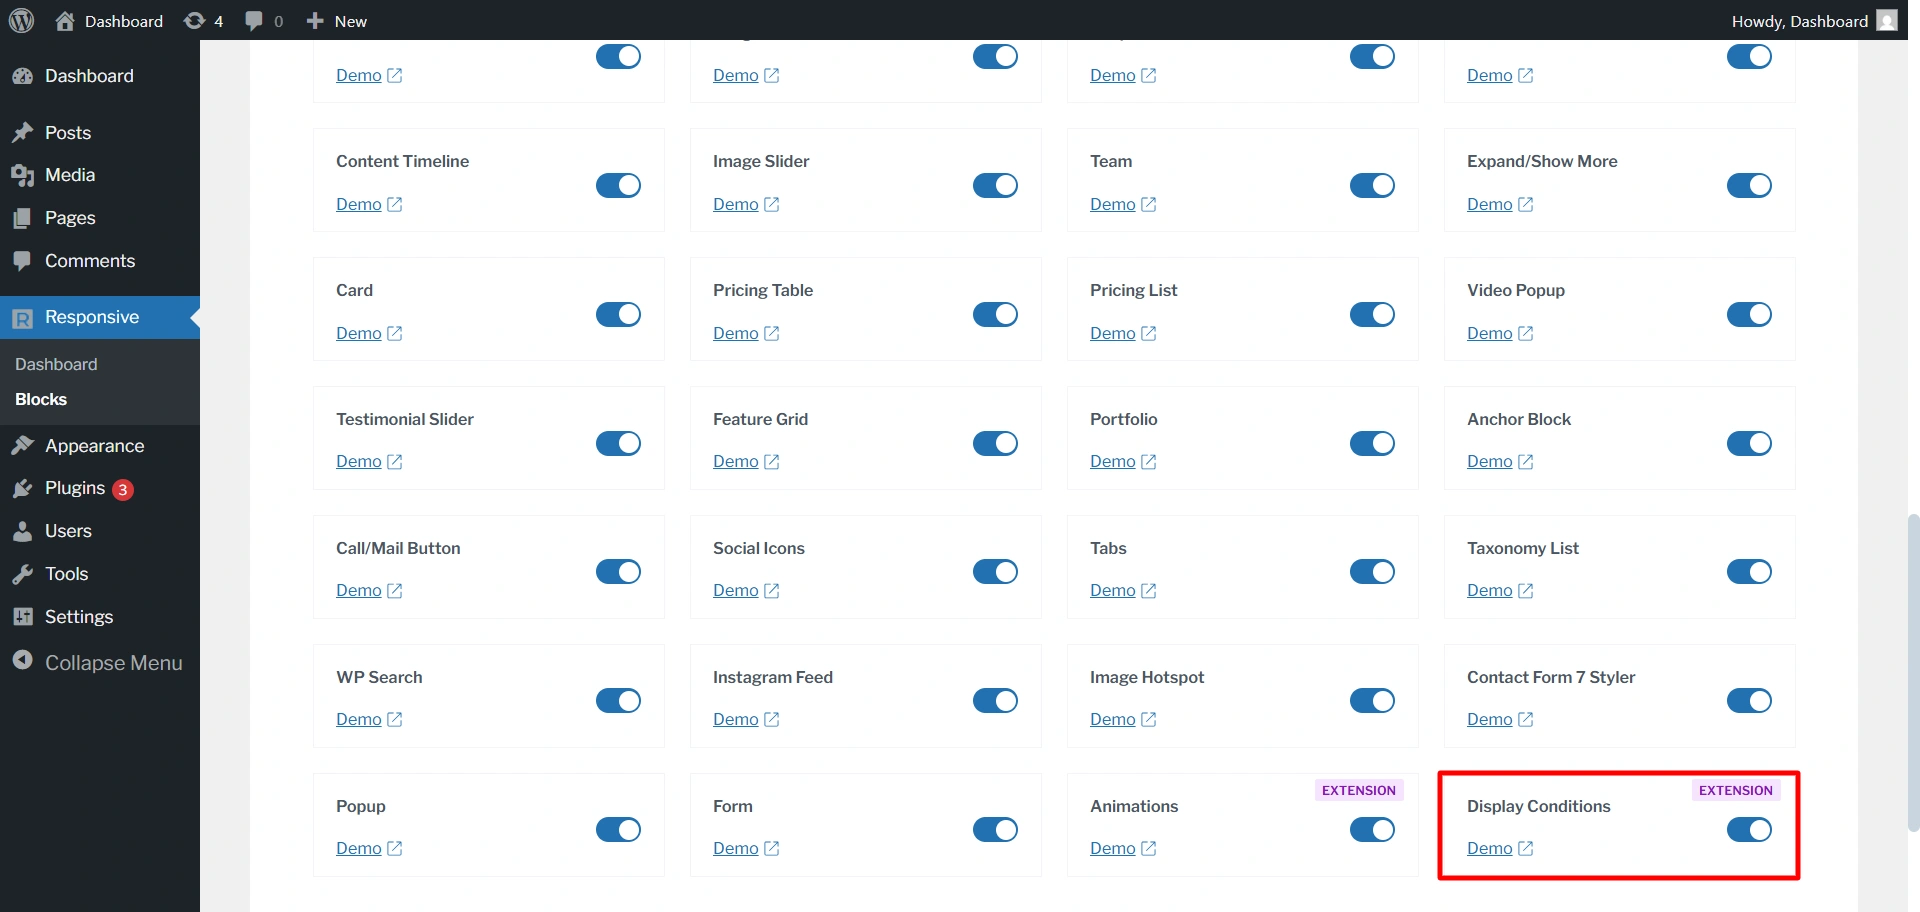
Before using the extension, make sure it is enabled. If not, go to your WordPress dashboard.
Navigate to Responsive > Blocks. Enable the display condition extension.
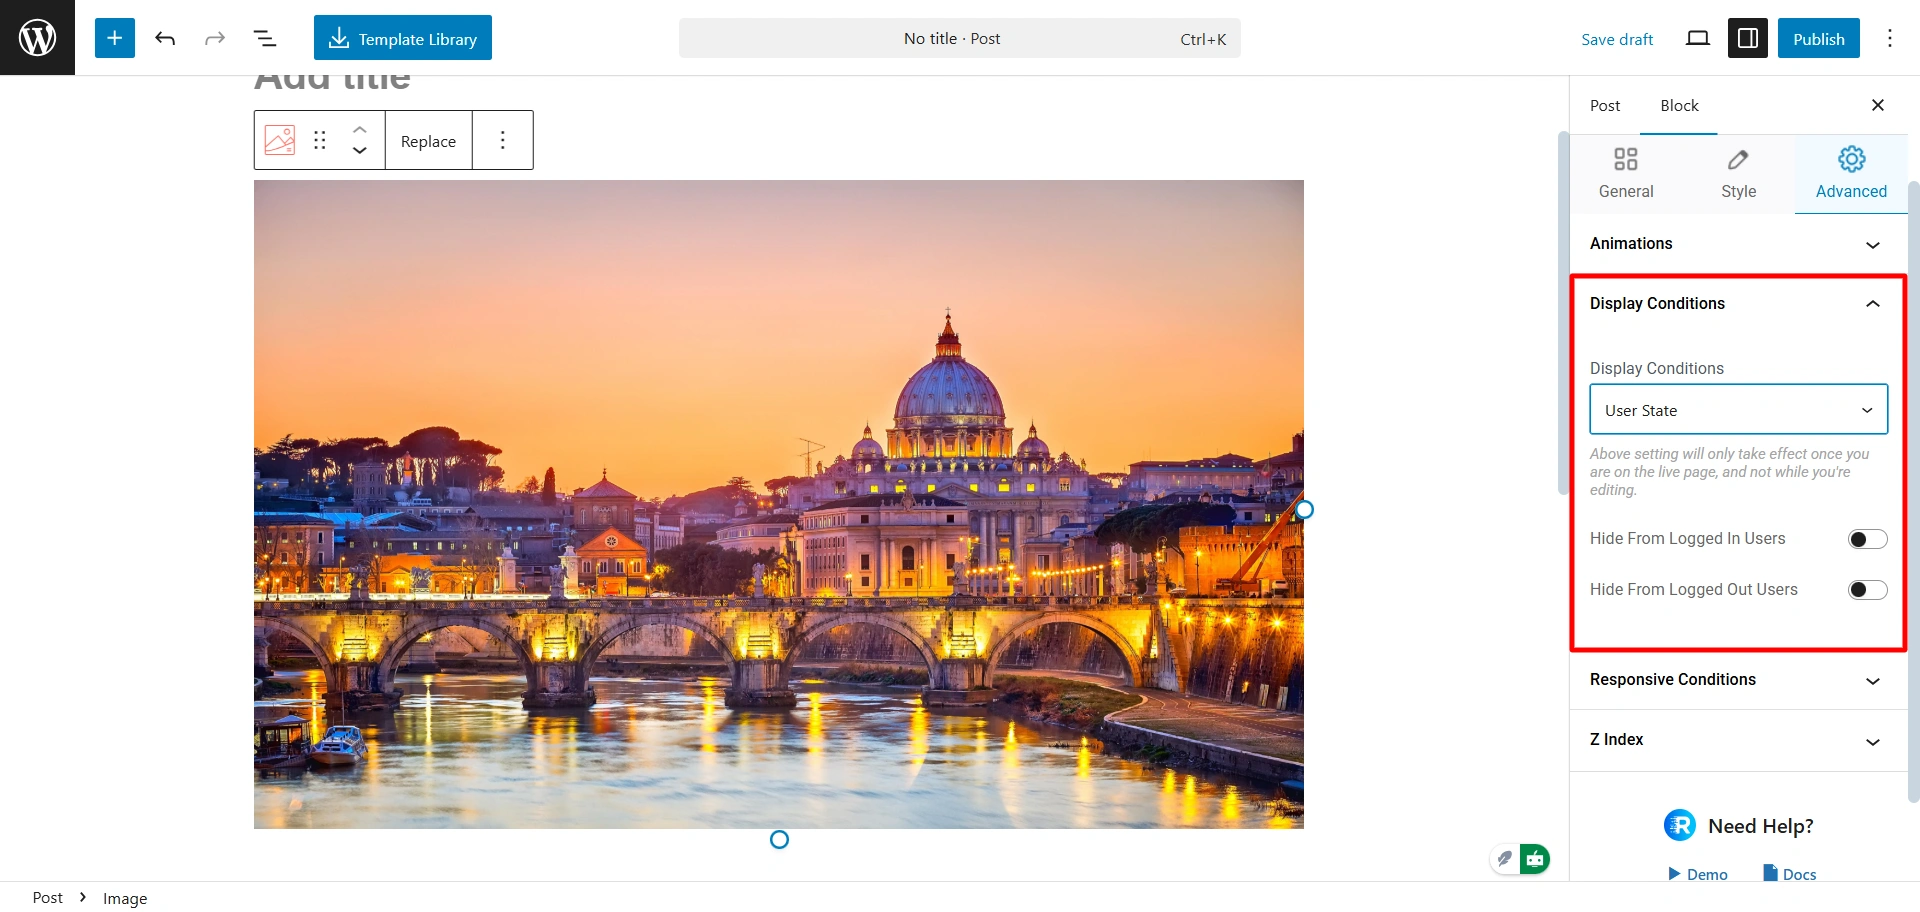
2. Applying Conditions to a Block / Section
Once activated, the condition settings will be available in the block editor. Create a new page or post and select the specific block or section where you want to apply the condition.
Like for now, I have chosen the image block.

In the advanced tab, you can see the option for the display condition. Click on the dropdown icon to add a new condition.
3. Configuring Each Condition Type
After selecting the type, you will define the specific rule:
- User State: Select the visibility state: “Logged in” (visible to active users) or “Logged out” (visible to guests).
- User Role: Choose one or multiple roles from the list to allow visibility (e.g., select Administrator and Editor to make the block visible only to those roles).

- Browser: Pick one or more specific browsers (e.g., Chrome and Firefox) that must be used for the block to appear.

- Operating System: Select the target OS (e.g., Windows, macOS, Android, iOS) where the content should be visible.

- Day: Pick one or more specific weekdays (e.g., Wednesday, Saturday and Sunday) on which the block will be visible.

4. Previewing & Testing Conditions
- Save and Preview: Once you’ve configured the conditions, save the page and view it in a new tab.
- Test User Status: Use an incognito window for a user who has not logged in and a normal window for a user who has logged in to check the changes.
- Test User Roles: If you can, test the page using various user accounts assigned the specified roles.
- Test Browser/Operating System: Visit the page on the targeted browsers/devices to verify that the correct block is shown.
Note: Conditions won’t show in the editor preview. They work only on the live site
5. Removing or Overriding Conditions
To remove the conditions, simply select the display conditions as none, and all the applied conditions will go back to default.
FAQs
The logic will only be executed on live pages (front-end) and will not apply in the editor preview.
Make sure to double-check the applied logic. Is it AND (meaning all must be true) or OR (meaning any can be true)? Make sure to test each rule before combining two or three!
Display Conditions use live (dynamic) data like user login status, device, or browser. If your site uses caching, make sure the cache doesn’t “freeze” these personalized parts. In short, logged-in users or visitors who should see different content must bypass the cache so they get the right version of the page.
The list includes common options. Check for plugin updates first. For rare or new systems, you might need to wait for an update or contact support to request an enhancement.
Block visibility is dynamic. If the user role is changed (like from Subscriber to Editor), the block visibility will change automatically once the page loads. This is an important part of your content logic and should be planned for.
Conclusion
The Display Conditions extension in the Responsive Blocks plugin is an important feature for any modern WordPress site with strong personalisation and content management.
It allows you to create a targeted experience based on a user’s state (logged in/logged out), identity, location, and even the time of day.
We suggest you try it today and test it out with your current blocks. Start with simple rules (like hiding a login button from logged-in users), then work your way to some more complex combinations.
Download or upgrade Responsive Blocks today to access this powerful extension.
If you like the article consider reading.
- How To Create Stacking Cards on Scroll Using Elementor Free
- How to Create a Before After Slider in Elementor [Free]
- How to Set a 404 Page in WordPress – Easy Method
Install Responsive Blocks for display condition extension and Responsive Theme for more functionalities.