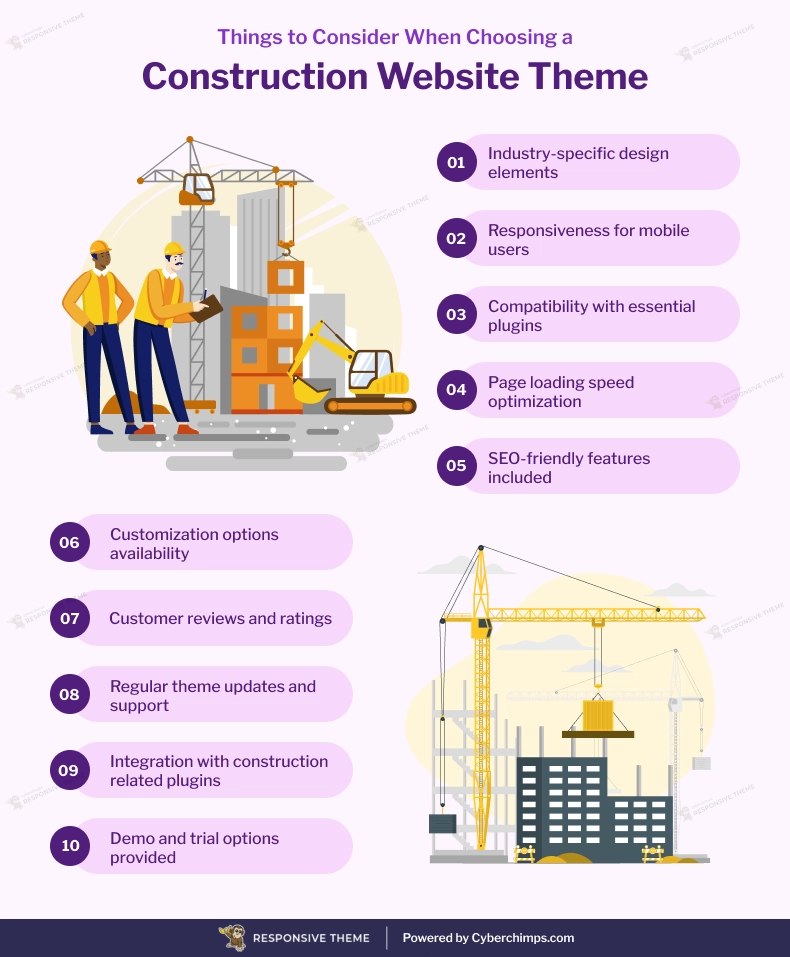
Summary
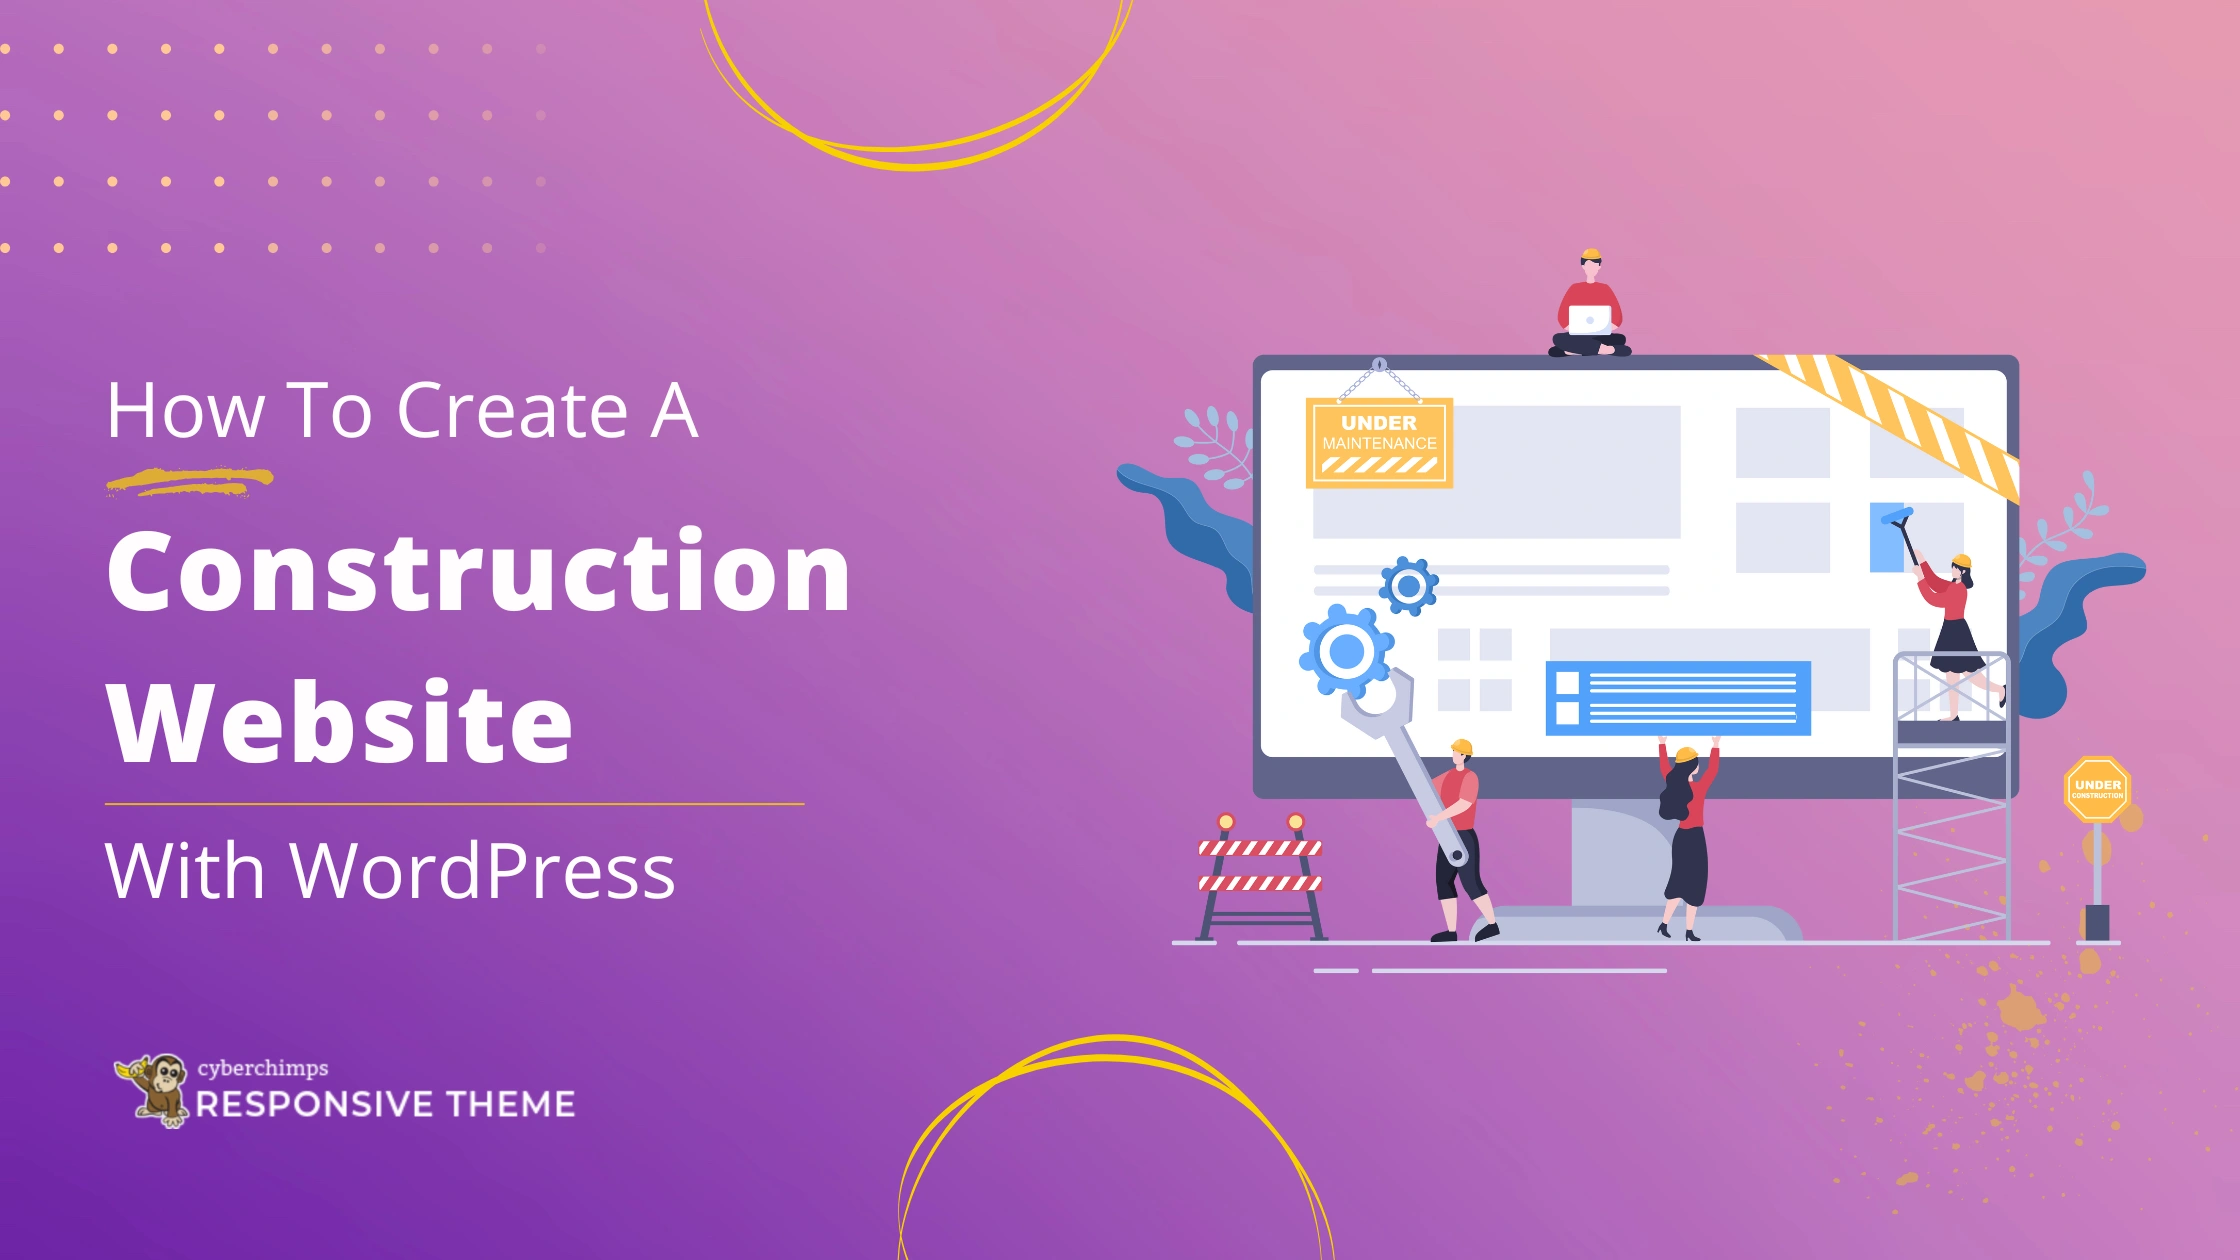
The article explains how to create a construction website with WordPress. It defines steps like choosing hosting and a domain, installing WordPress, and picking a construction-focused theme.
It also highlights adding key pages, services, portfolios, and customization tips. Helping readers build a professional, industry-focused construction website.
Do you want to build a construction website, but don’t know where to start? Don’t worry, we’ve got you covered.
Be it your accounting firm or a healthcare clinic, or any type of service business that you own. Not having a website these days is not an option, it is like leaving a huge chunk of marketing opportunities behind. Many surveys have shown that users look online 90% of the time before making any buying decisions.
A construction website will help you display your capabilities in the most efficient way, a website that will focus on your past work and current projects to increase your client base. If you think, launching a construction website will require you to hire a developer or do tons of coding, then you’re mistaken.
Now easily launch your free construction website with the Responsive theme. Here’s a step by step by guide to help you get your construction website off the ground. Read on…
Responsive Starter Templates is the best plugin to import Website Templates – Get it for free.
How to Build a Construction Website
Step1: Install & Activate Responsive Free Theme
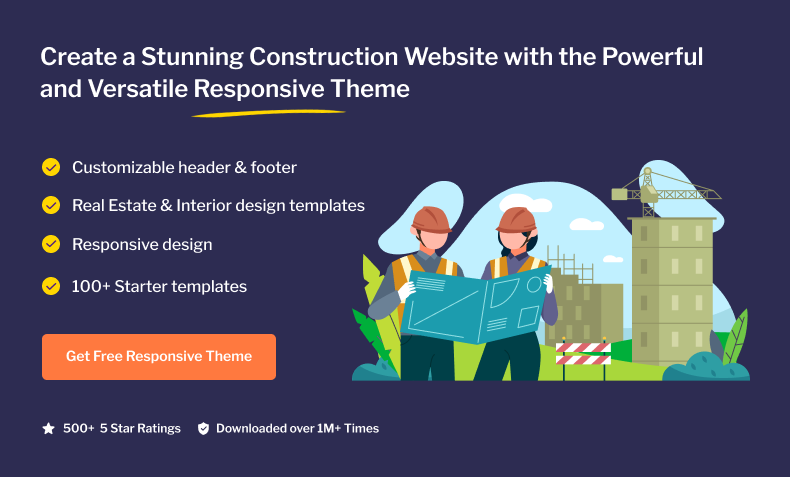
The Responsive theme is a fast, highly customizable, and responsive WordPress theme that comes with 40+ pro and free templates created for any kind of business niches. These templates are built with Elementor and Gutenberg so they can be easily edited and customized.
With the Responsive theme, you don’t have to worry about creating a website from scratch. Just download the theme, import one of the ready site demos, edit the content, and launch!
You can get a copy of the free theme from the website. Alternatively, you can also download it from WordPress.org.
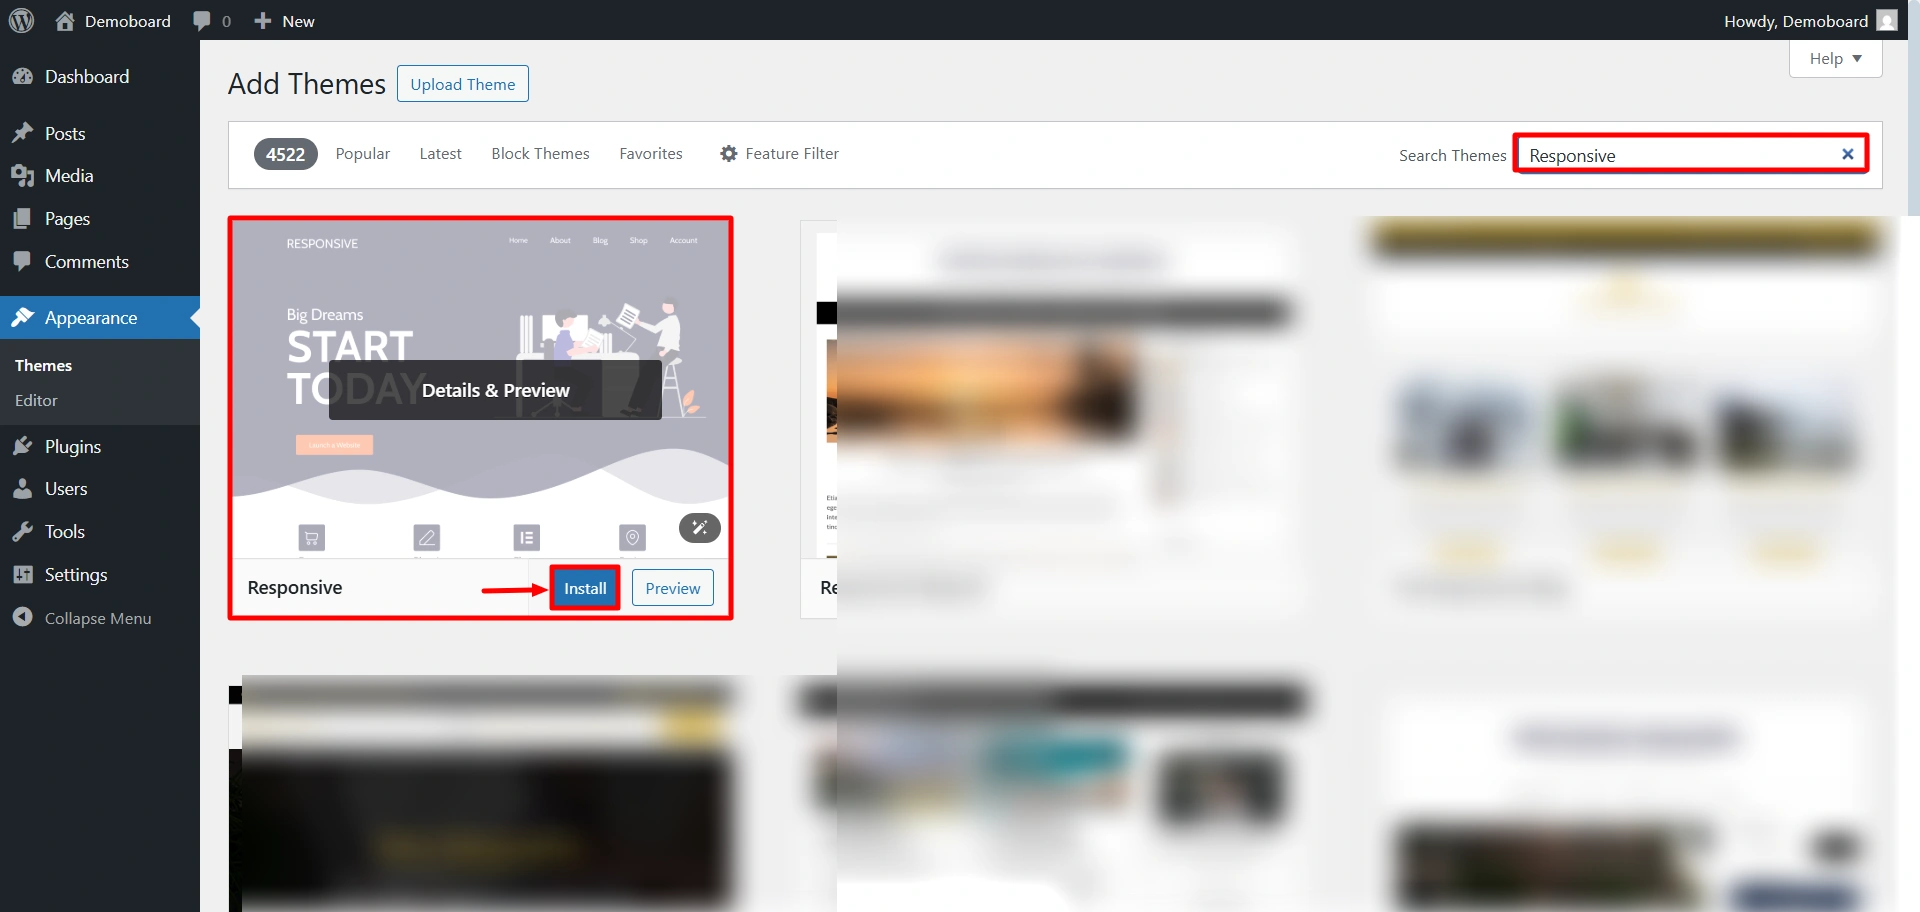
To download the theme from the dashboard, navigate to Appearance> Theme > Add Theme.
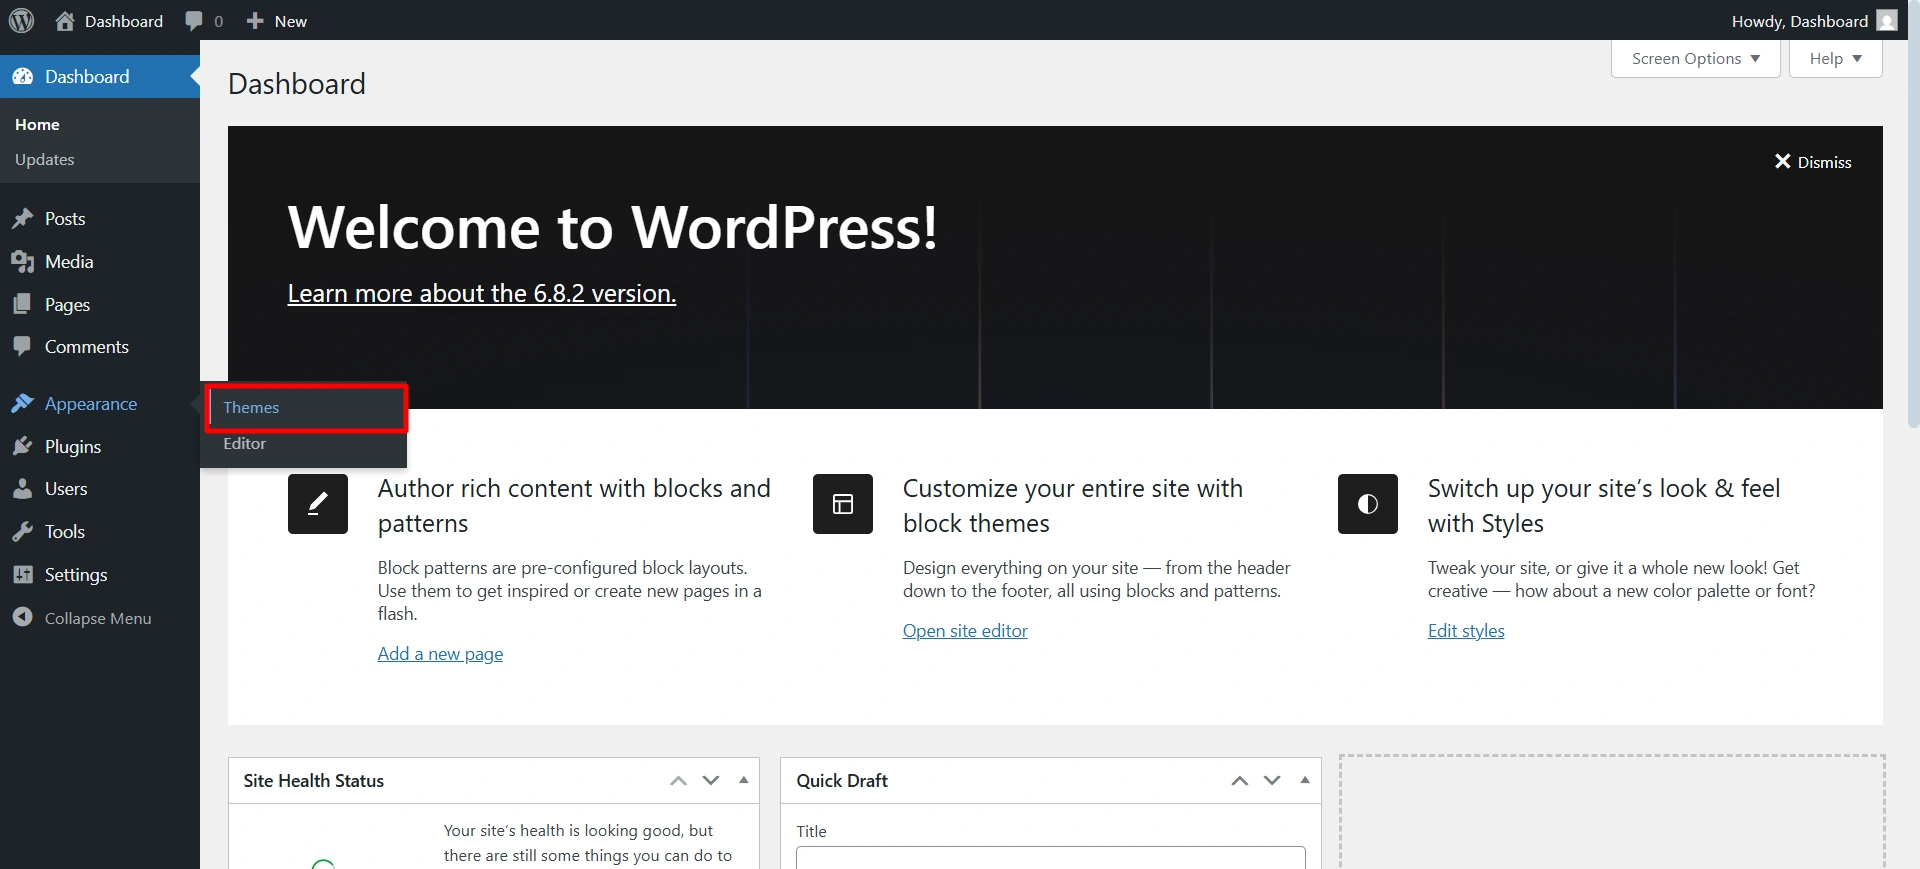
Search for Responsive, click on install, and then activate.
Now let’s install the Responsive Plus plugin.
Step 2: Install the Responsive Starter Templates Plugin
The Responsive Plus plugin comes with 250+ ready-to-use professional templates that you can import with just a click.
In order to import these templates, you need to install and activate the ready site importer plugin.
After you install the theme, you will get a notification to install the plugin, click on install, and activate.

Step 3: Import the Construction Demo Template
Construction WordPress theme is a free theme that you can import in a few clicks. It comes with all the features that will help your Construction business grow.
The pre-designed pages like the Homepage, About page, etc. can be imported so you don’t have to worry about doing anything from scratch.
The contact form on this Construction theme is perfect to increase email inquiries. You can also give a brief overview of the services you offer with a separate Services section.
To import the Construction template, go to Responsive > Templates on your WordPress dashboard. Search for the Construction template.
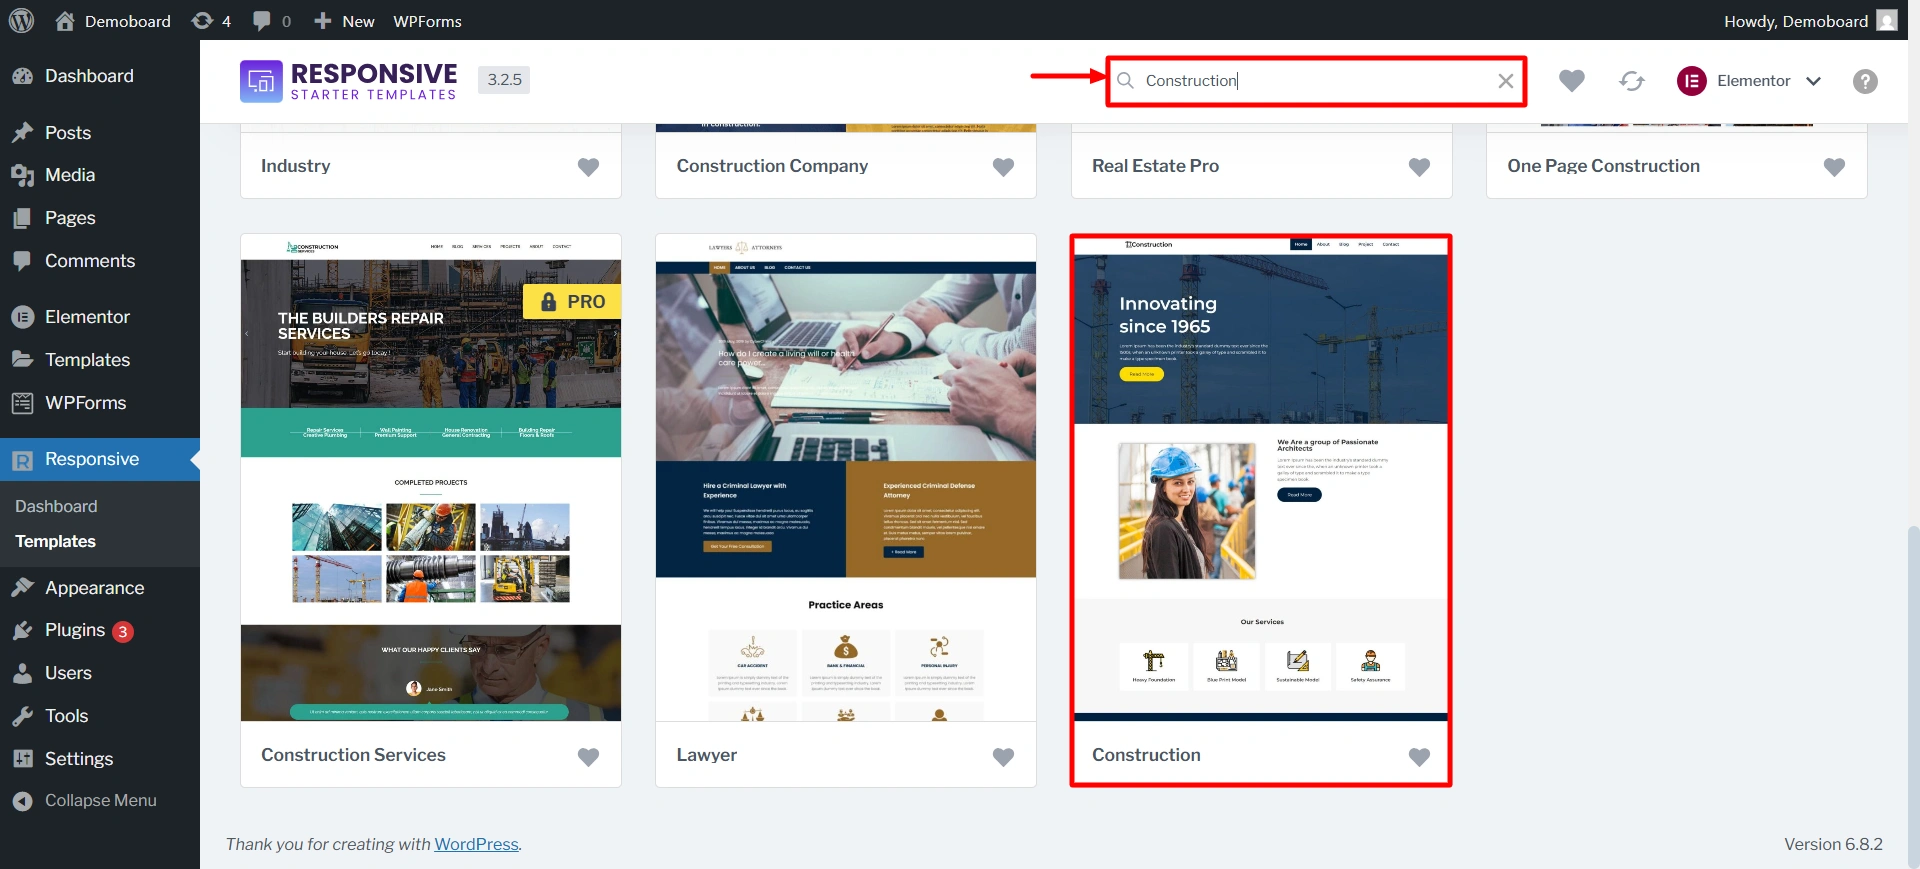
Click on it.
On the preview page, you’ll find two options. You can import a single template or import the whole site. You can do a mix & match for your website. Choose the ‘Home page’ of one template and the ‘About page’ of another.
Click on Import Site to start importing the Construction template.
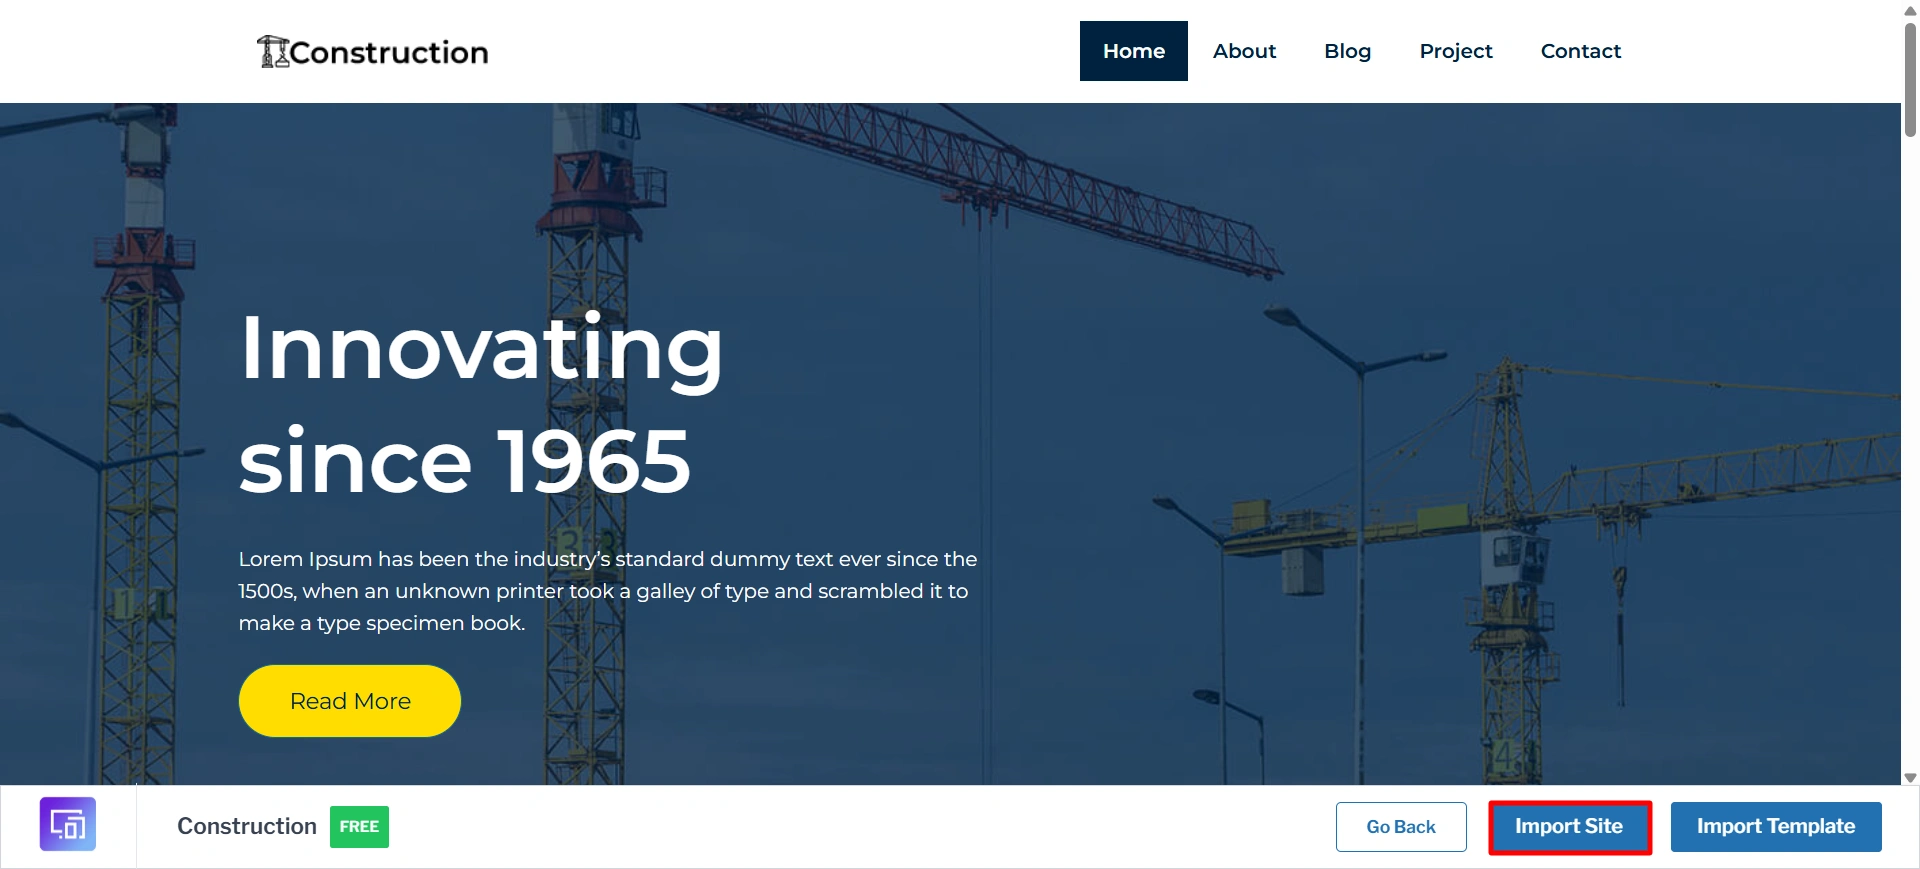
Create an account if you’re a new user. And after that click on import.

When the import is complete, click on the Launch site button, which will take you to the newly created website.
Step 4: How to Edit the Homepage of Your Construction Website?
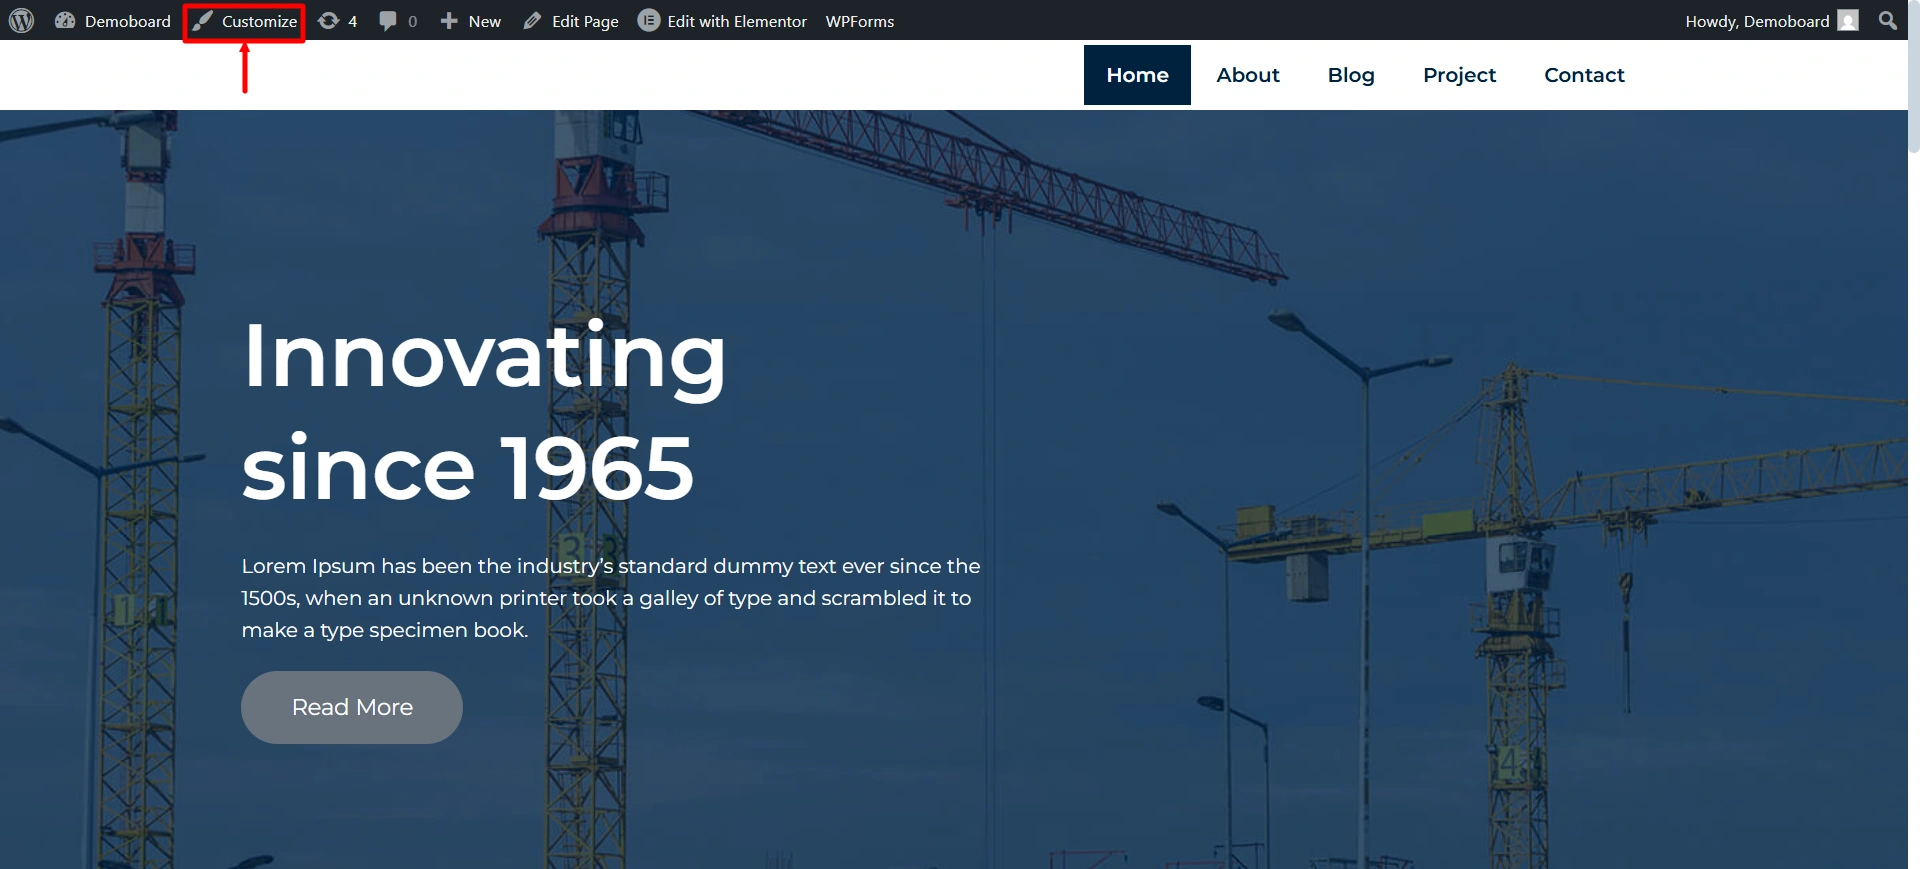
Go to your WordPress dashboard and navigate to Appearance > Customize. You can also click on the Customize button at the top of your website.
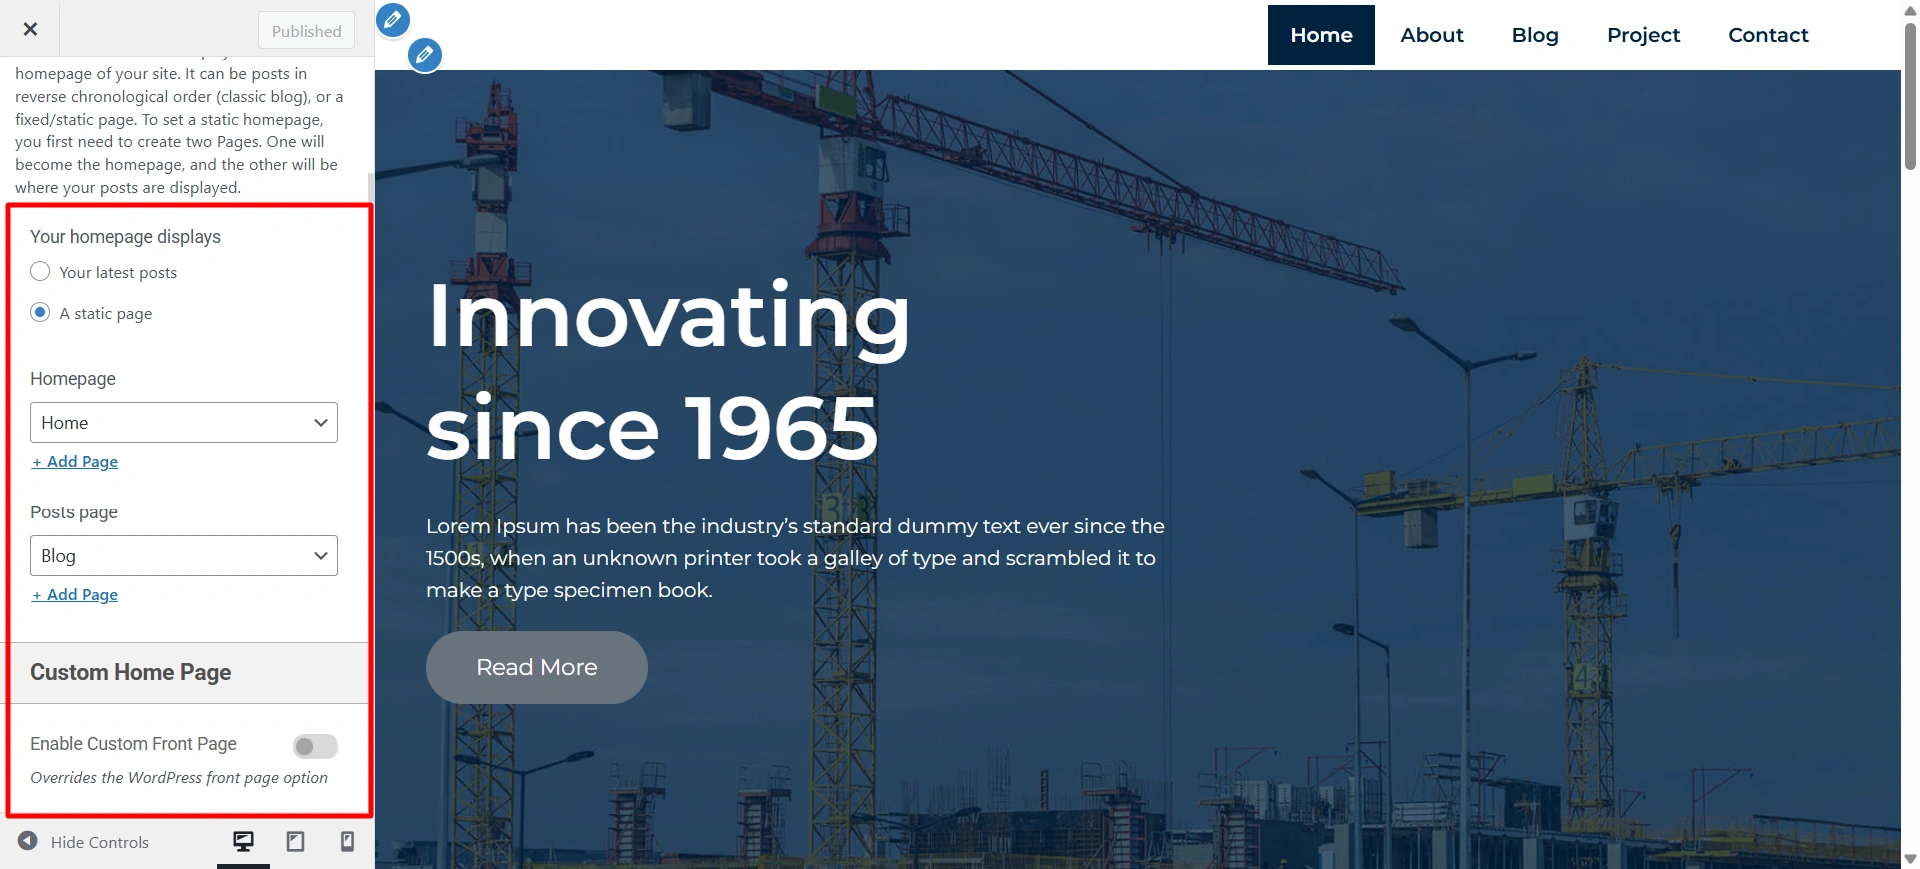
Here you’ll find tons of options to customize the settings of the theme. To edit your Homepage, click on the homepage settings in the customizer.
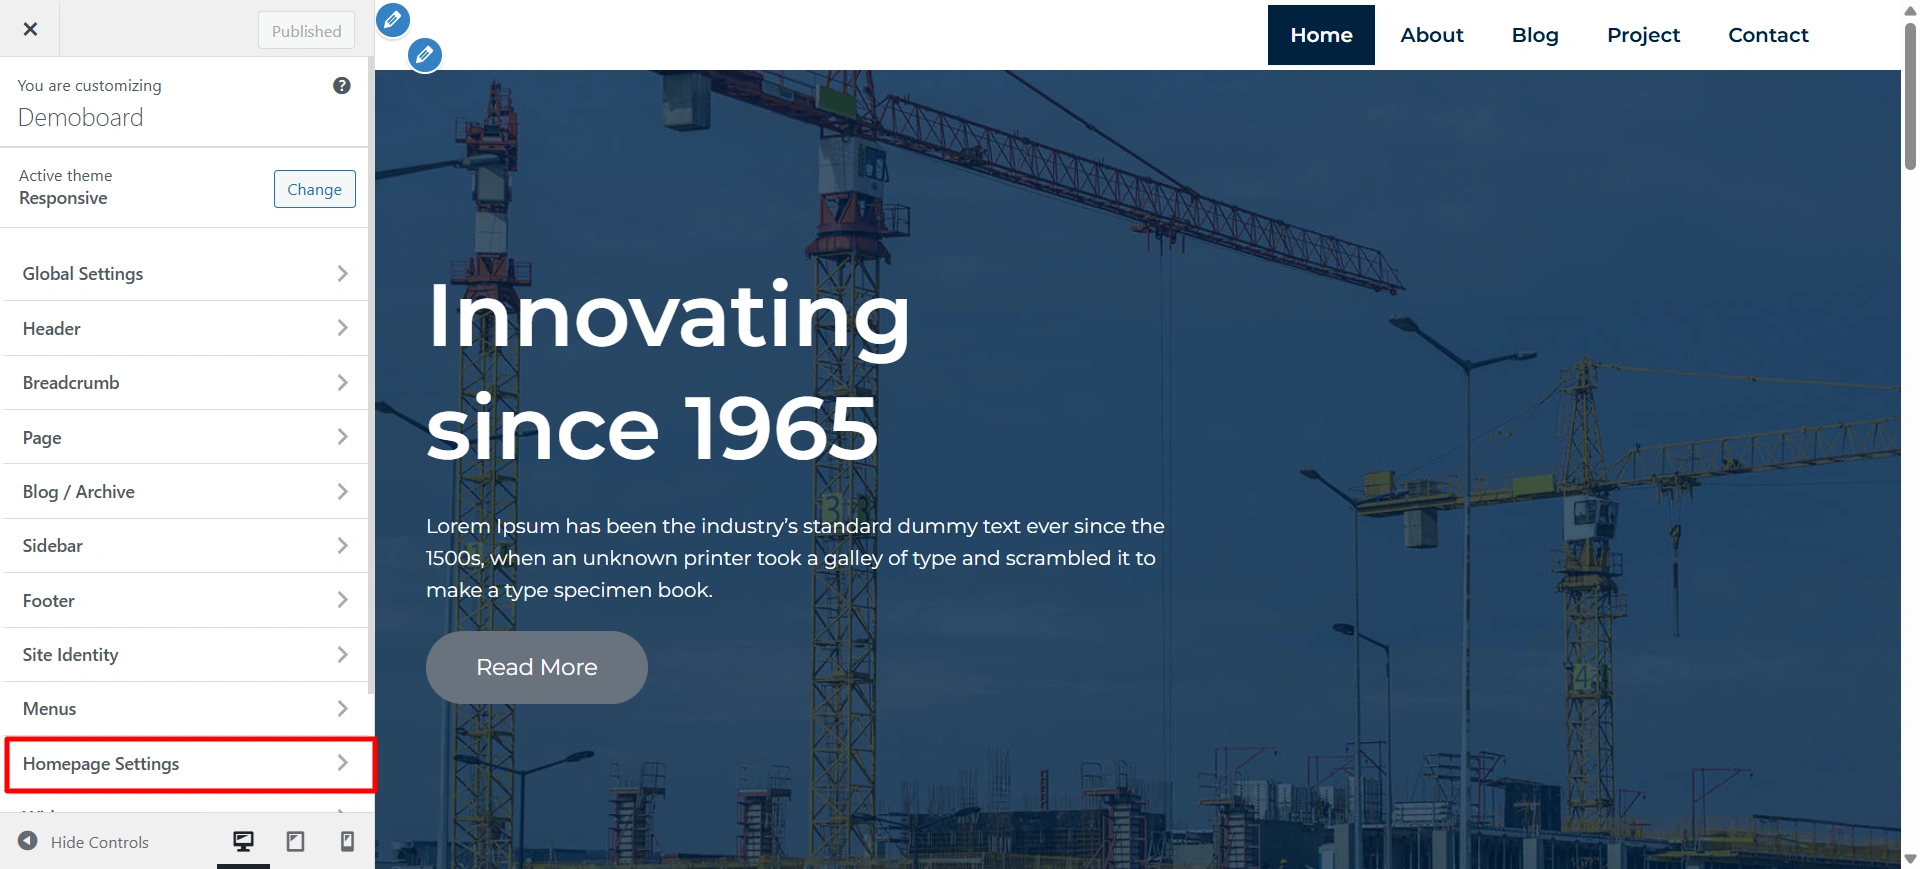
Here you can choose what’s displayed on the homepage of your site. It can be posts in reverse chronological order (classic blog), or a fixed/static page.
To set a static homepage, you first need to create two Pages. One will become the homepage, and the other will be where your posts are displayed.
You can also choose to display a custom front page. To do that just enable the “custom front page” option at the bottom. After that, you’ll see the following option to customize your Home page:
- Home Page: Choose to enable or disable the Hero Area. Change the headline, subheadline and put a CTA button. You can also customize the featured content area by uploading an image of your choice and changing the content.
- About Section: Choose to enable or disable the About section and add a custom CTA.
- Feature Section: Enable or disable the feature section. Choose the posts or pages to be displayed in the featured section.
- Testimonial Section: Add a testimonial section to increase your conversion rates.
Step 5: How to Edit Your Construction Website Using Elementor?
Follow the steps below to edit the construction website using Elementor drag and drop page builder.
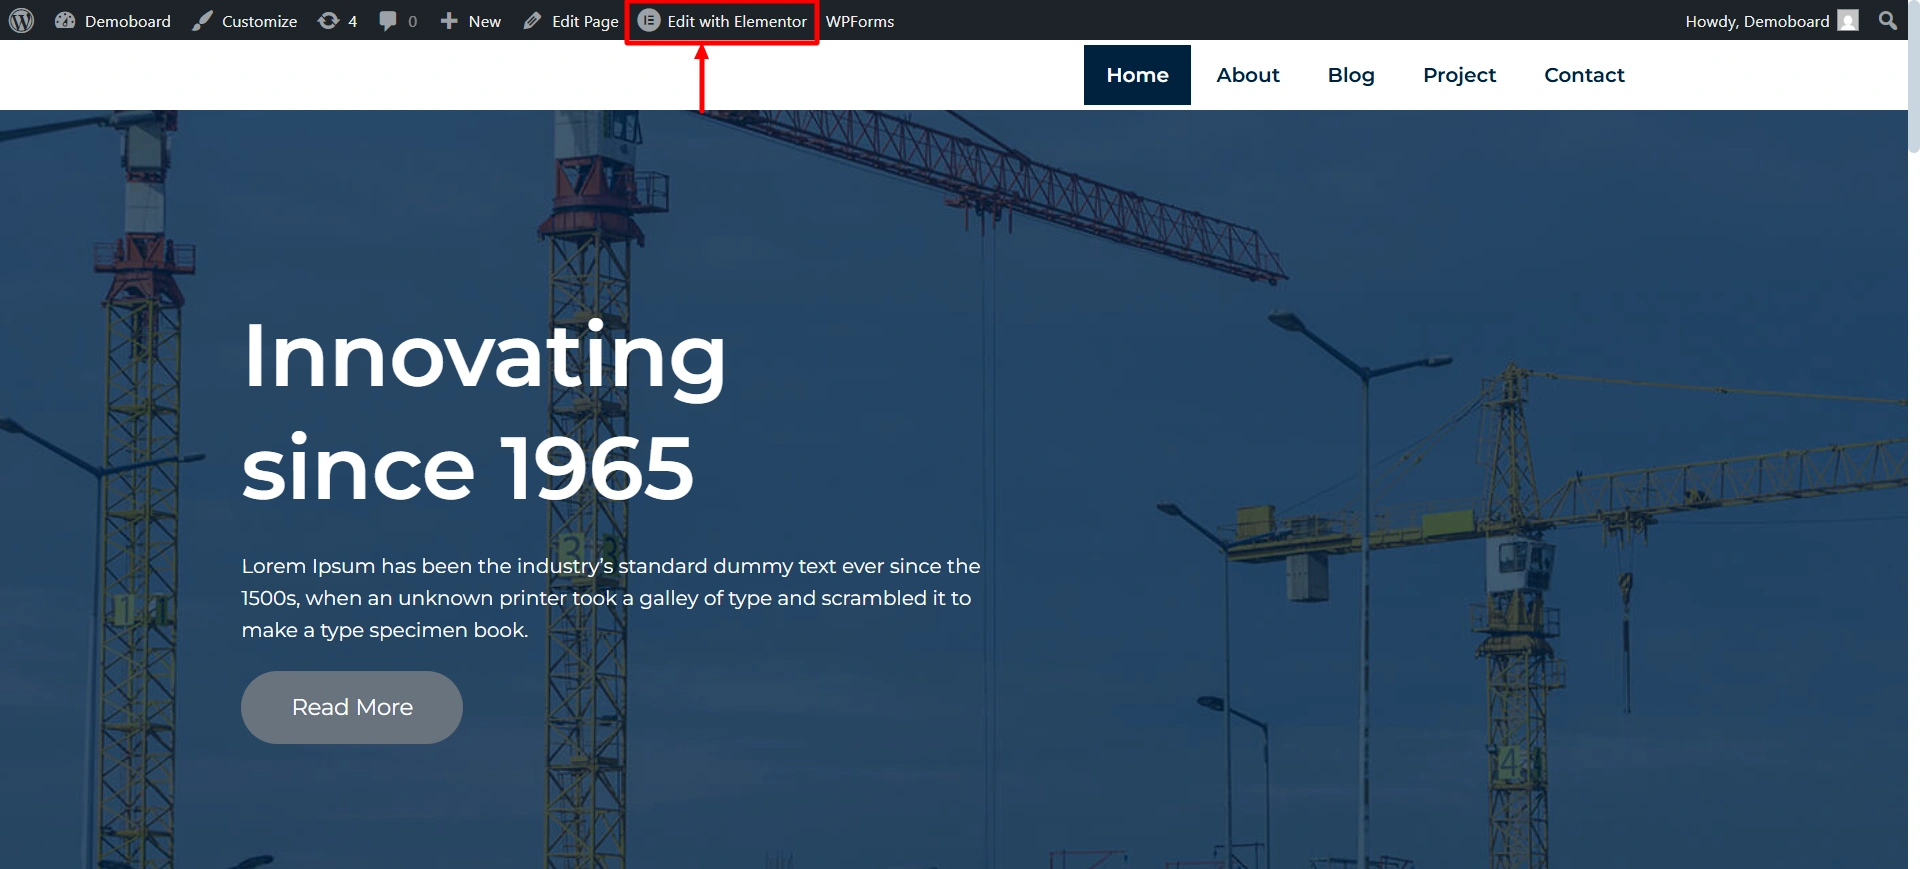
Go to your WordPress dashboard and click on Visit site. After your website opens, click on Edit with Elementor on the top.
Here you’ll find tons of options to change the content and style of your page. On the Elementor editor page, you’ll see two blocks reminiscent of Customizer.
On the left, you can find the Elements (1) and Global (2) tabs, allowing you to change global settings and choose the content modules for adding and editing.
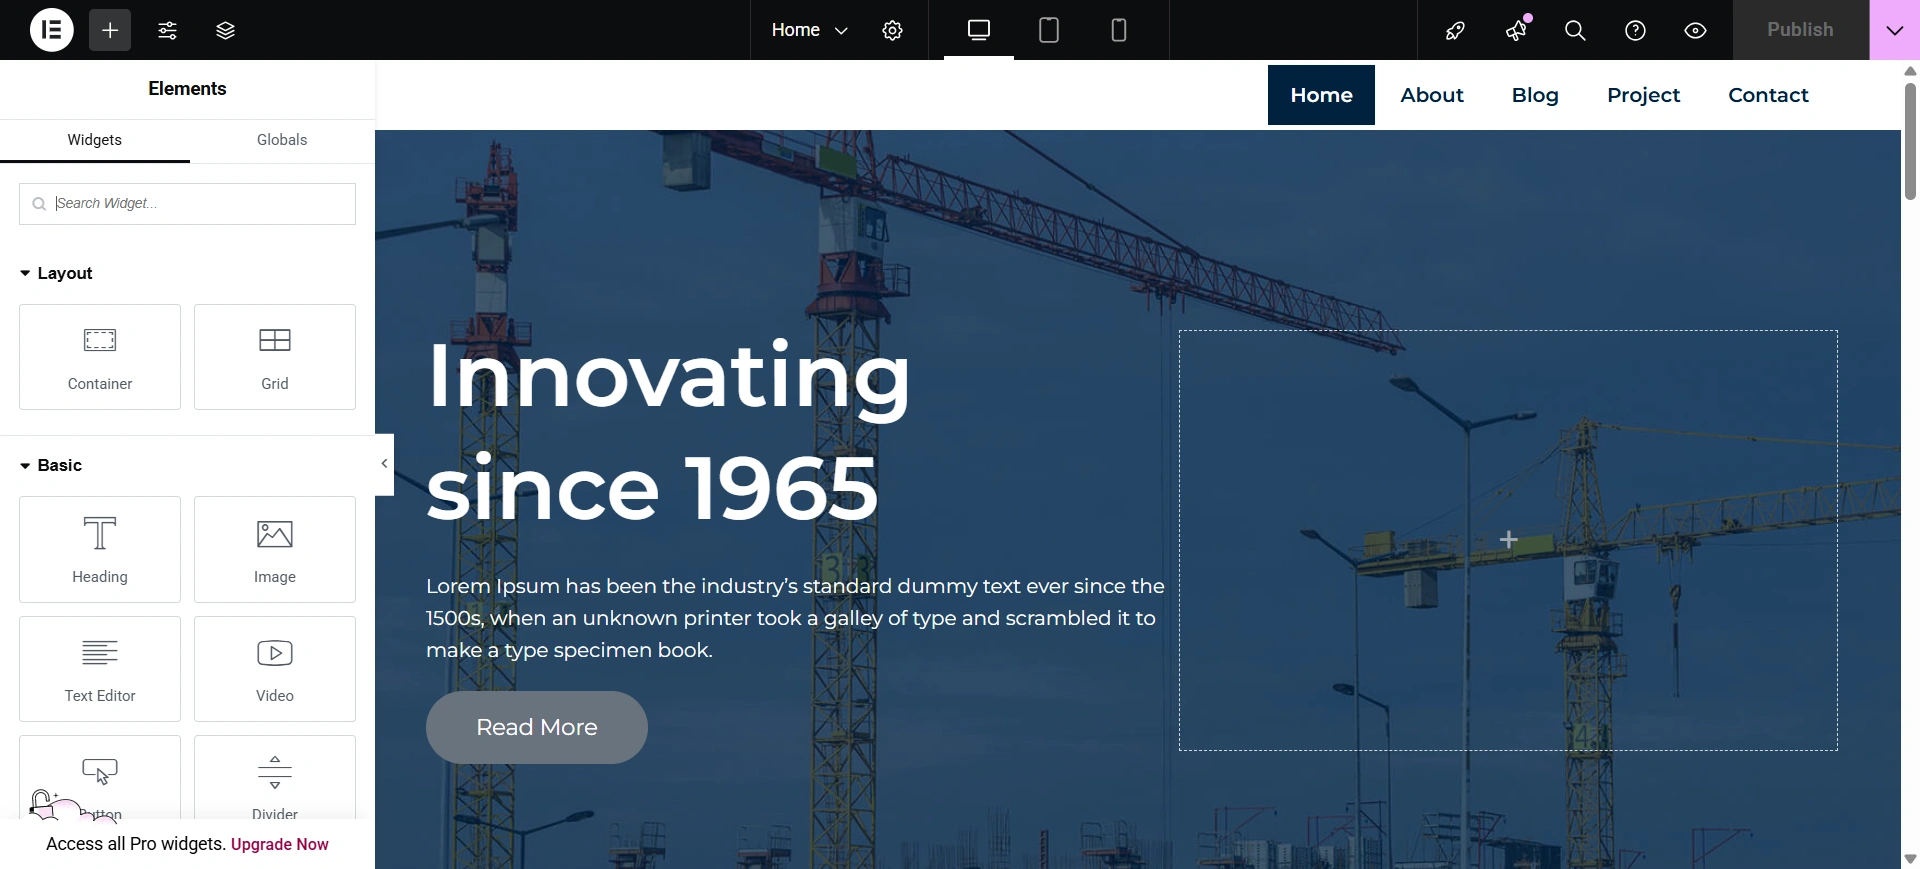
Click on one of the content sections you want to edit. It will be encased in a thin blue frame. It means that the section is active now. Hover on each section to see the available options.
After you’re done making the changes, click on Update.
Recommended Actions After Importing Your Website
You learn how to launch a construction website and edit it. But that is only the first step. Now that you have a website, you will want to start the process to optimize for visibility, speed, and security. Here are the most important steps to take next:
1. Install an SEO Plugin
Having a great-looking website is nice, but if nobody can find it on Google, you won’t have any clients. That’s where an SEO plugin comes in handy.
Yoast SEO

Perhaps the most common SEO plugin and toolset used globally. Yoast SEO features a simple red/yellow/green signal system to help you optimize each page or post. Including readability checks makes your content easier to read and more user-friendly, which indirectly increases your SEO.
Rank Math
A new SEO plugin and toolset that leverages modern UX to meld simplicity and powerful capabilities together. Additionally, it includes on-page content analysis, keyword optimization tips, and automated schema generation to help you look great in query results. The interface is very clear and simple to follow, even for an inexperienced user.
Only use one SEO plugin. Using two simultaneously can give you errors and do harm to your rankings.
2. Optimize Site Performance
Your website deserves to load quickly. In fact, research shows that around 50% of visitors will leave your site if it doesn’t load in 3 seconds.
WP Rocket

A premium caching plugin that is very beginner-friendly. Just activate the plugin, and your site will be faster immediately due to lazy loading for images, database cleaning, and page caching.
W3 Total Cache
A free but advanced feature. It may take a little more time to set this option up and is less user-friendly, but if set up properly, it will enhance your site’s performance greatly
Some performance enhancements can be quite small, but they can still significantly improve user experience and conversions if implemented (such as image compression and enabling browser caching).
3. Enhance Your Website Security
All WordPress websites are vulnerable to hackers, and most will see daily bot attacks, brute-force login attempts, malware injections, and phishing attempts. By taking proactive measures to protect your website, you can save time and money on cleanups, lost revenue, and downtime.
MalCare
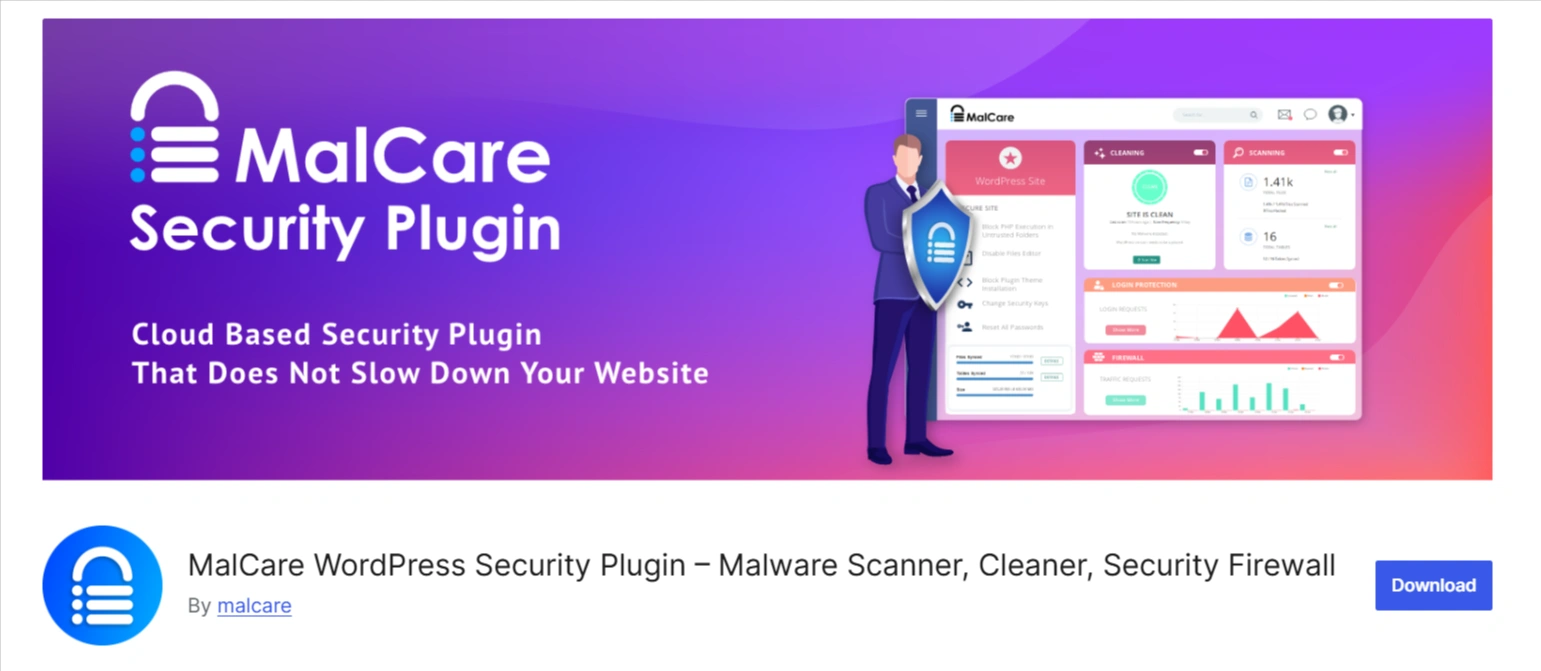
Provides real-time malware detection and auto-removal capabilities, as well as a solid firewall that will block bad traffic before it reaches your server.
Wordfence

Another popular security plugin, Wordfence, provides live traffic feeds, firewall protection, and login security. Its free version is effective at stopping the majority of threats.
Use 2-factor authentication for all admin accounts and schedule regular backups. While it may take some time to recover, you could have your website back up and running in a few minutes and with minimal effort.
FAQ
If you follow the steps, you can launch your website in less than an hour. All additional customized designs will depend on how much additional content you want to display.
No, you don’t need any coding experience. With the Responsive theme and Elementor page builder, you can customize anything by simply dragging and dropping.
Yes, the Construction template contains pre-built sections so that you can provide a portfolio, services, and testimonials to establish some credibility and increase clients.
Conclusion
Don’t stress out if the idea of creating a professional construction website seems daunting. With the Responsive Theme and the Starter Templates plugin, you can set up an entirely functioning, client-ready website, without hiring a developer or learning to code, in just a few clicks.
Once your site is live, the real work begins, enhancing it for SEO, improving overall performance, and securing it! With the right plugins and a little customization, your construction business will stand out online, allow you to showcase past projects, help you attract new clients, and generate leads 24/7.
If you like this article, you might also like:
- 17 Best WordPress Slider Plugins To Enhance Your Site in 2025
- 21 Best WordPress Themes for Podcasts in 2025
Grab the Responsive theme today and build your own construction site!