Typography plays a vital role in the look and feel of a website. That’s why the Responsive theme by Cyberchimps offers you a variety of typography settings, including fonts and styles, to create stunning websites.
The Responsive Theme allows you to customise the typography of your site from a single location with just a click.
To access the Global Typography settings, navigate to your WordPress dashboard and install the Responsive theme. Next, navigate to the Global Settings in the Customiser and click on Typography.
What are Presets?
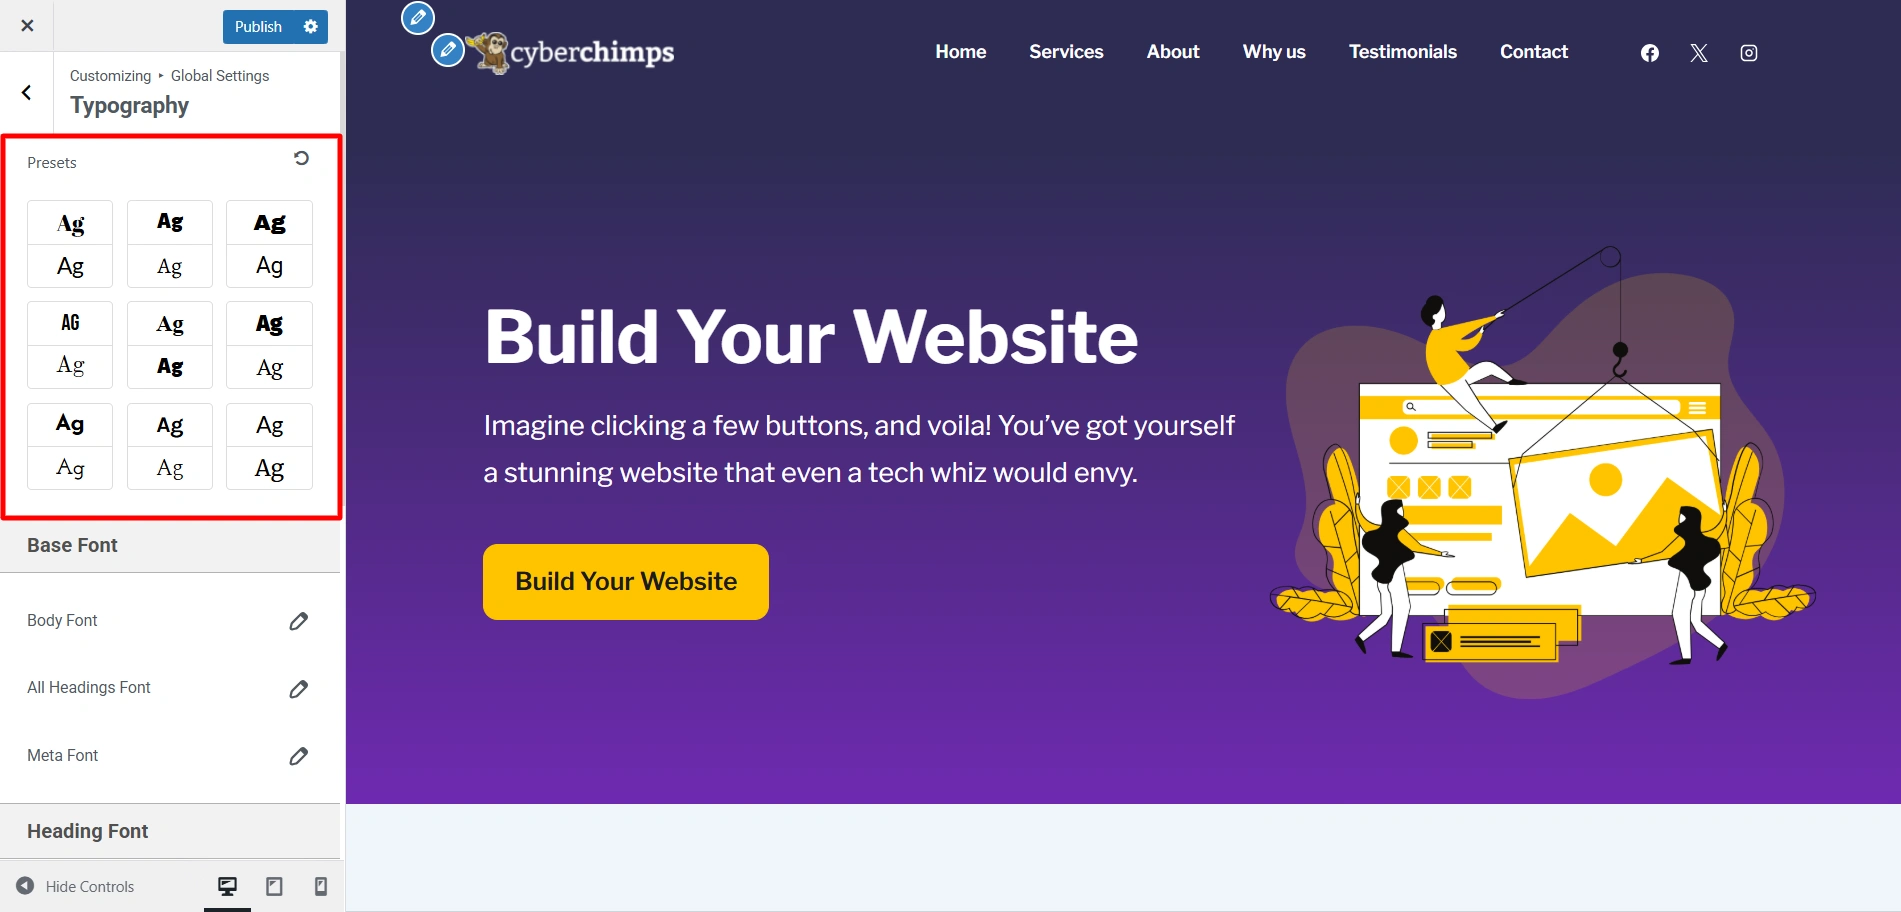
Presets are ready-made font combinations that you can apply to your entire site easily. Essentially, every preset includes a specific font for both your headings and your body text. This, in turn, helps give your website a homogenous and professional look.
The Responsive Theme has nine font presets, using which you can add a fresh look to your website using these typography settings in theme websites with just a click.
What are Base Fonts?
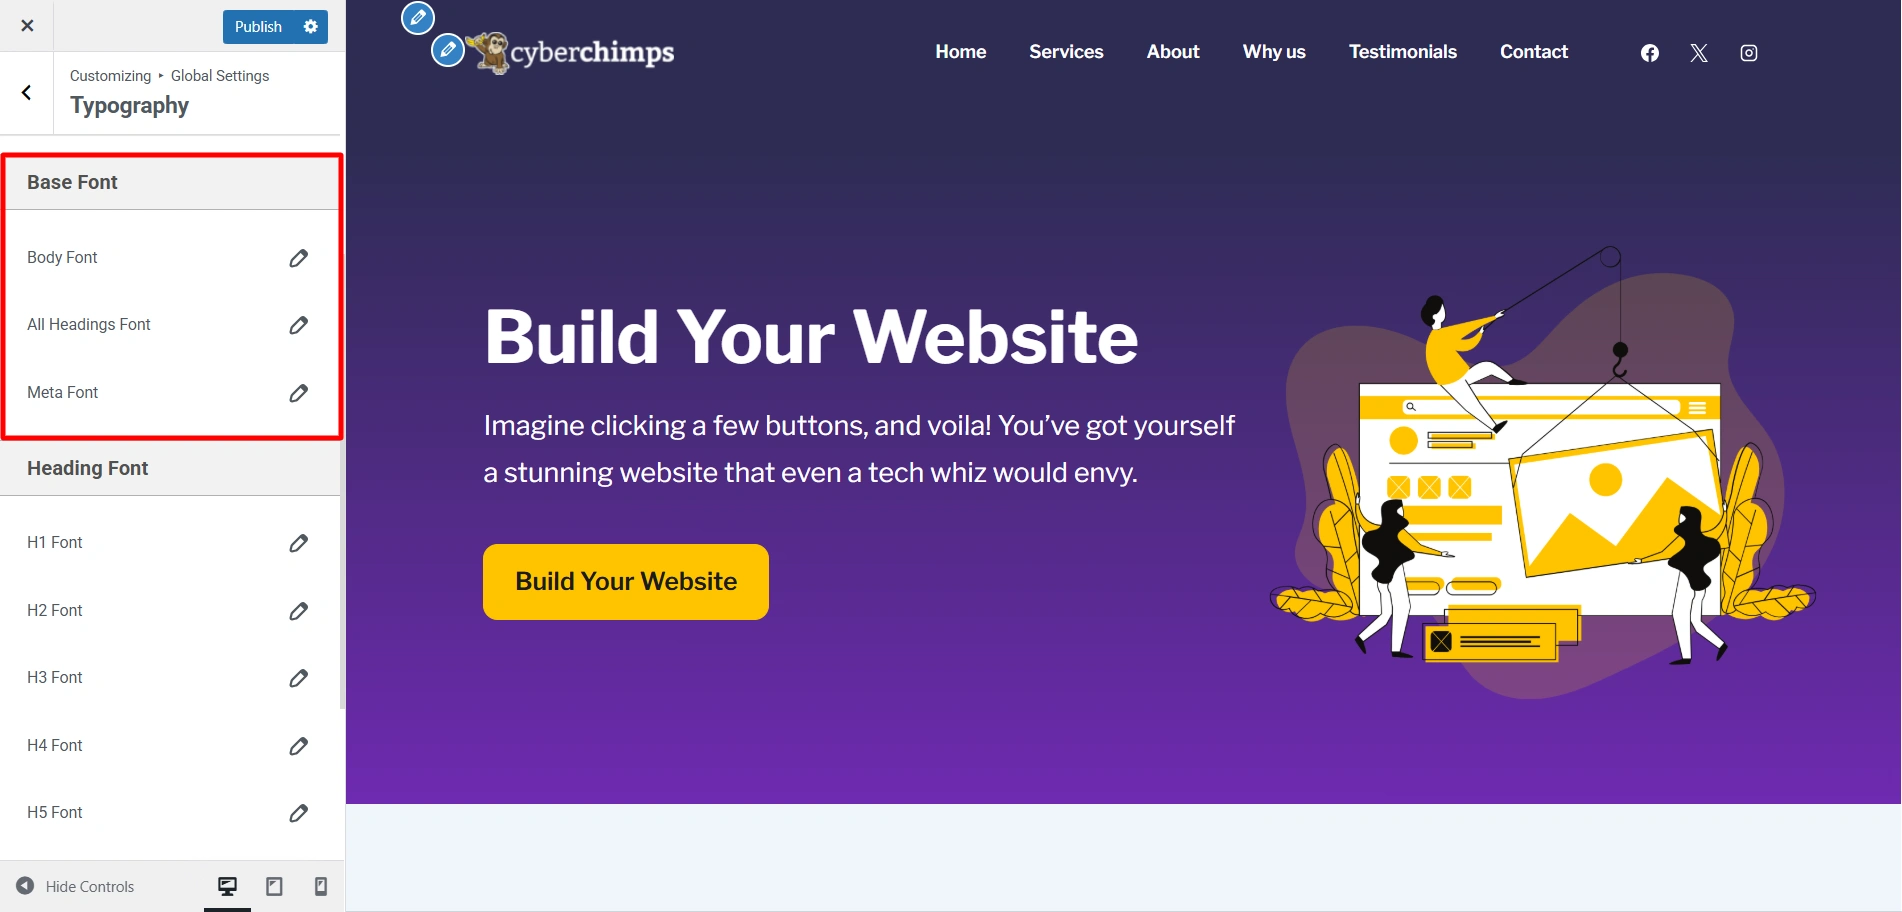
Base fonts are where you select individual fonts you want to add to your website. Here you can select the fonts you’d like to add to your heading or the body of your website.
You can easily change the font style of your website by understanding the options under Base Font.
Here you can customise the fonts of your Body Text, Headings, and Meta. The settings offered are

- Family- You can choose fonts like Sans Serif, Times New Roman, Georgia, and so on, for the content of your website.
- Size- You can change the font size using the slider, or you can manually enter your desired font size and adjust using the arrows.
- Font Weight- Choose the thickness of your font using the options given in the Font Weight dropdown box. It offers a default setting along with Light, Normal, and Bold.
- Text Transform- You can control the capitalisation of the text on your website by using the options in the text transform setting. Along with the default option, it offers an uppercase, lowercase, and a capitalise option.
- Font Style- you can italicise your text in the font style setting.
- Line Height- Adjust the line height using the given slider ot increase or decrease the space between lines.
- Letter Spacing- Adjust the space between letters in your content using the given slider in the Letter Spacing setting.
Using these typography settings, you can control and customize the way in which your content is presented easily and fast.
Heading Font

Similarly, if you want to change the font styles for specific headings, you can use similar settings mentioned above, provided for each heading.
You can set the typography for individual Headings tags from H1 to H6.
Paragraph Margin Bottom
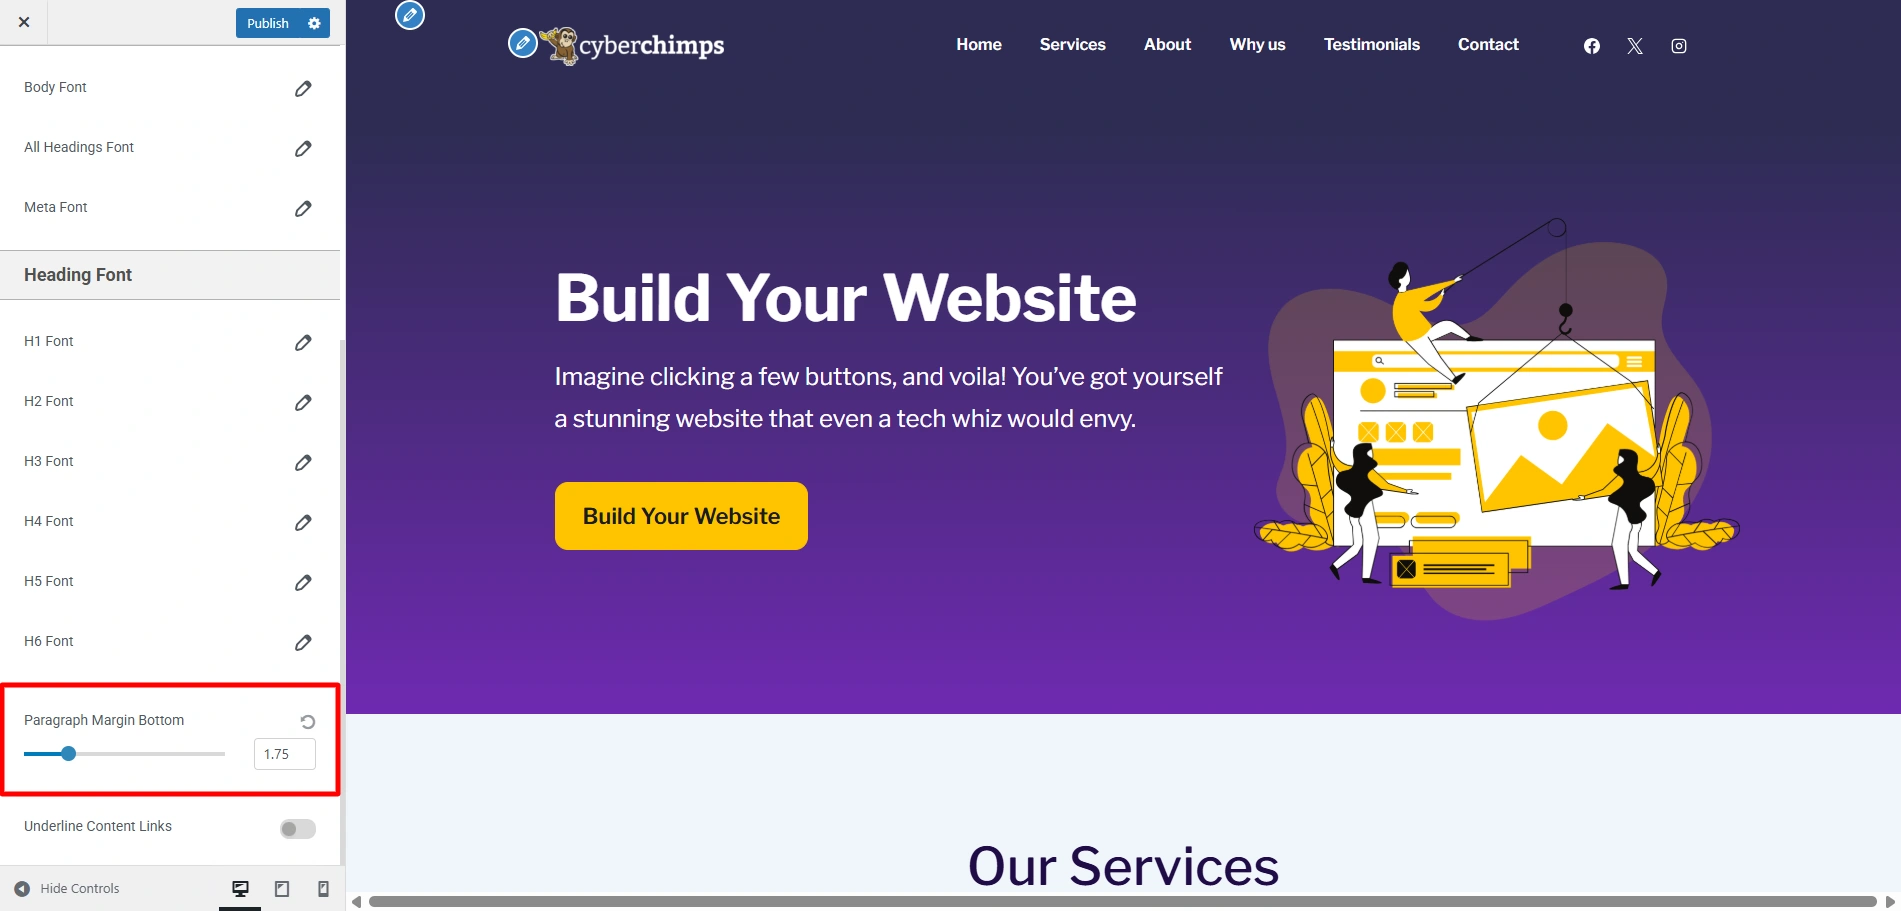
To control the space below each paragraph, you can use the slider provided to increase or decrease it according to your needs.
Underline Content Links

Finally, if you want to underline all the links in the text of your website, you can use the toggle provided to do so.


